UPDATE: You can find a brief entry on Adafruit blog, thanks!!!
UPDATE: You can find this project on Instructables webpage: http://www.instructables.com/id/Add-a-USB-Power-Port-to-a-10100-Switch/
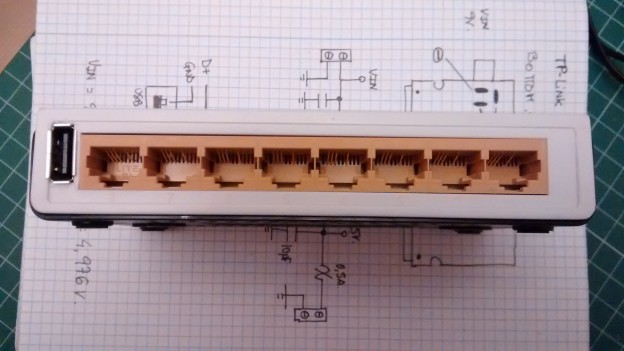
Hi all! After some time out, due some hard work, I’m here again with a ‘one weekend’ project (in my case, with three childs. Sure it can be done in one afternoon!). I want to start some projects with Arduino and IoT, so the first things I need is an Arduino board, an Ethernet shield and a switch to connect it to the net. Also I need a power supply for the Arduino board, and I think that, better than a external USB AC wall adaptor or power supply, is modify the switch to add it a USB power port that can power the Arduino board. I’ve got at home a TP-Link TL-SF1008D, a simple 8 port 10/100 Mbps switch. So, let’s go to open it and add it the USB port!
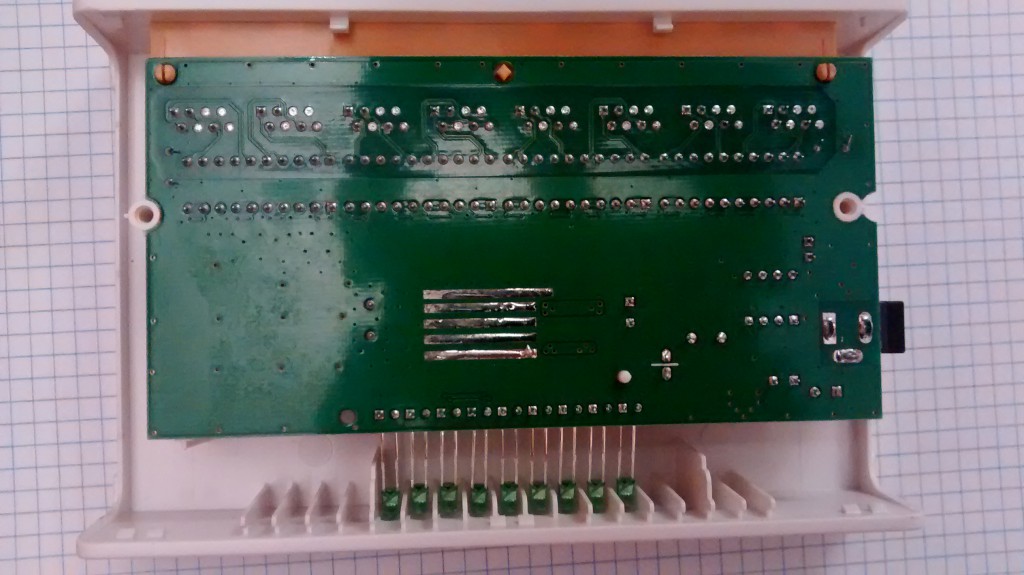
The first thing we need is a Philips screwdriver to open it. Here’s a view of what contains the switch inside:
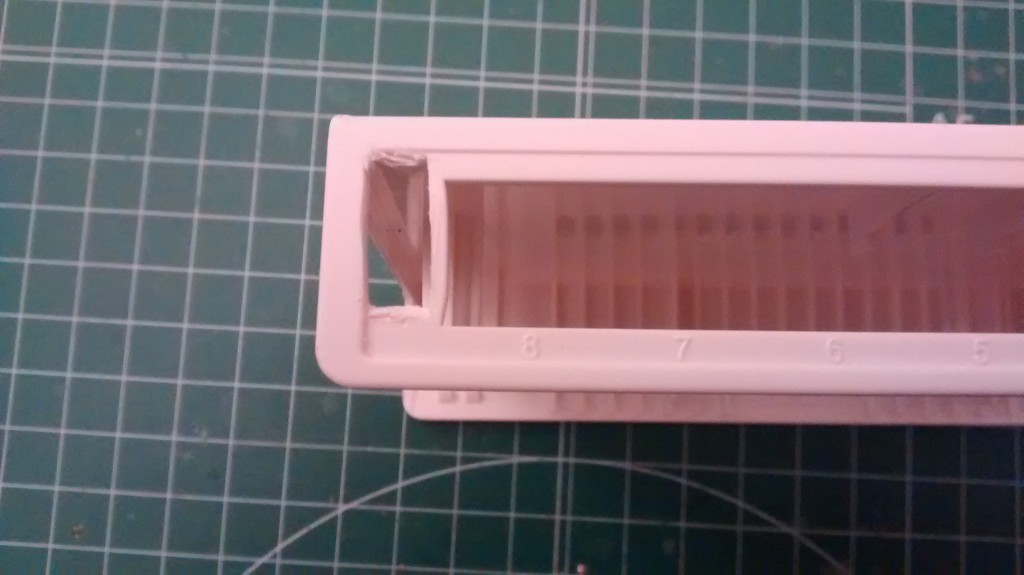
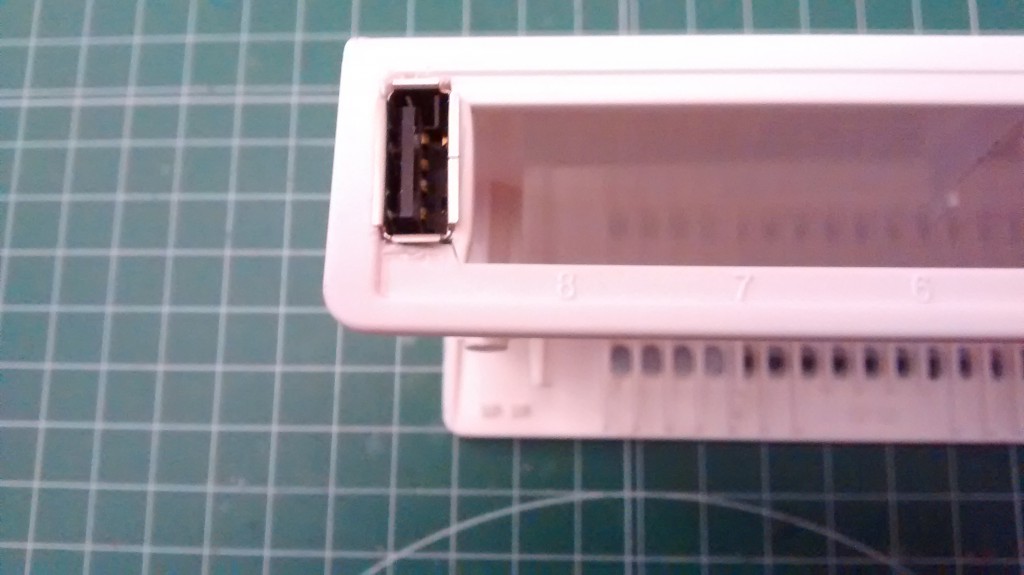
 I’ll add the USB port in the rear side, near with the RJ-45 connectors. I choose a USB Shielded I/O Type A Receptacle that I’ve got at home from Molex (Part Number: 105057-0001). So, after remove the electronics from the case, I put the connector on the position, mark the zone and cut it with a cutter:
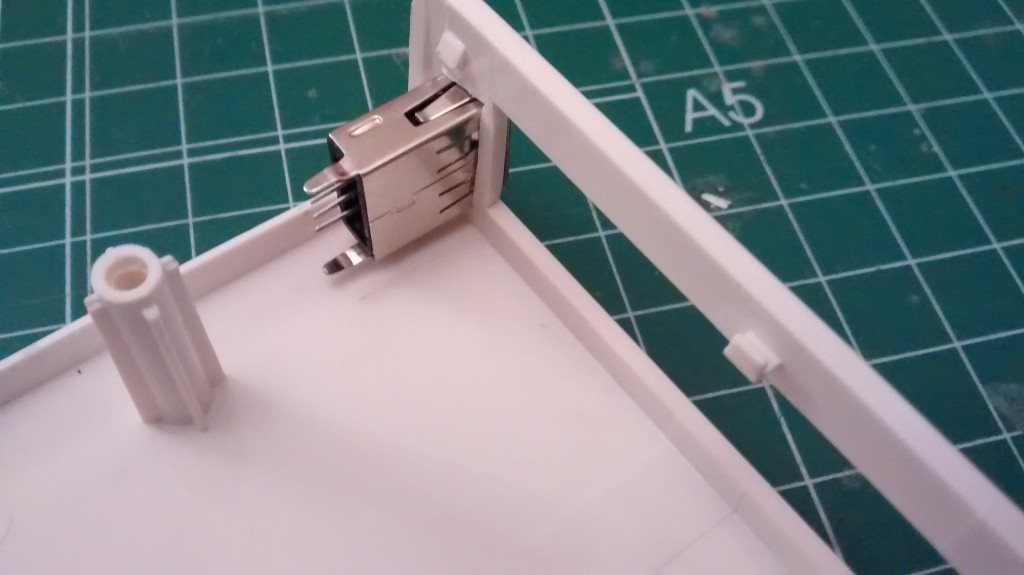 It seems that fits Ok, so the last check is mount again the board to ensure that the USB connector don’t hit it:
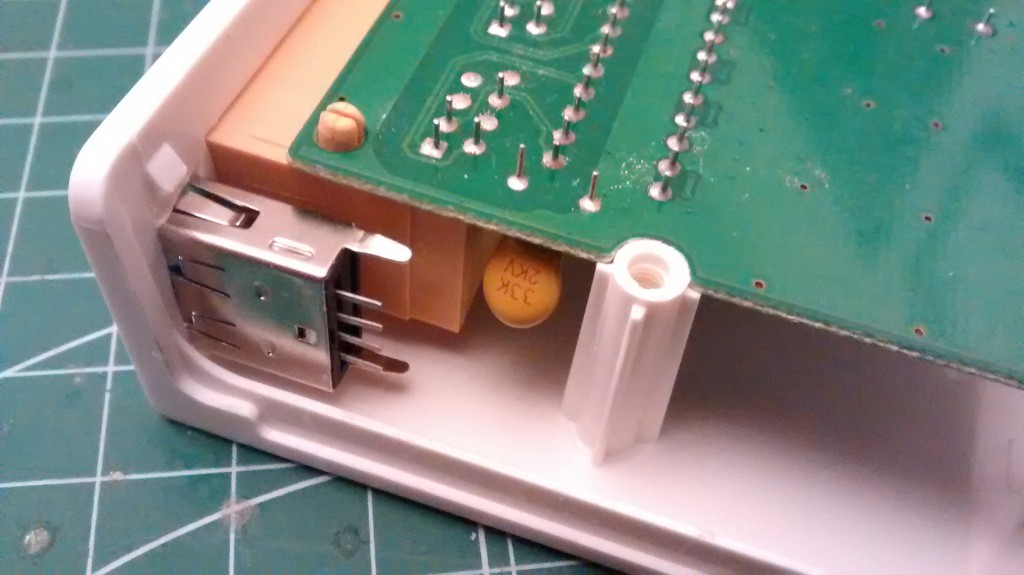
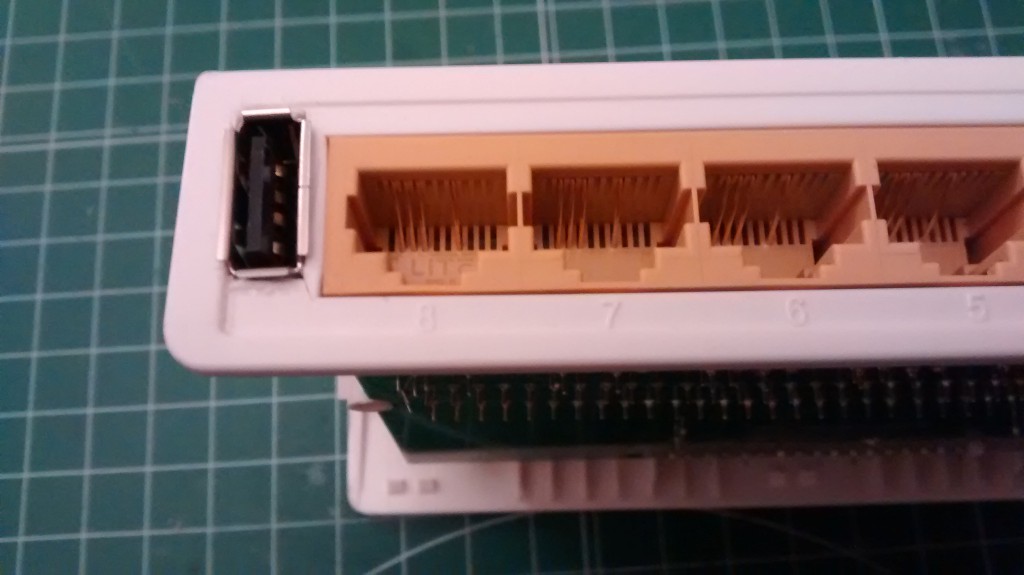
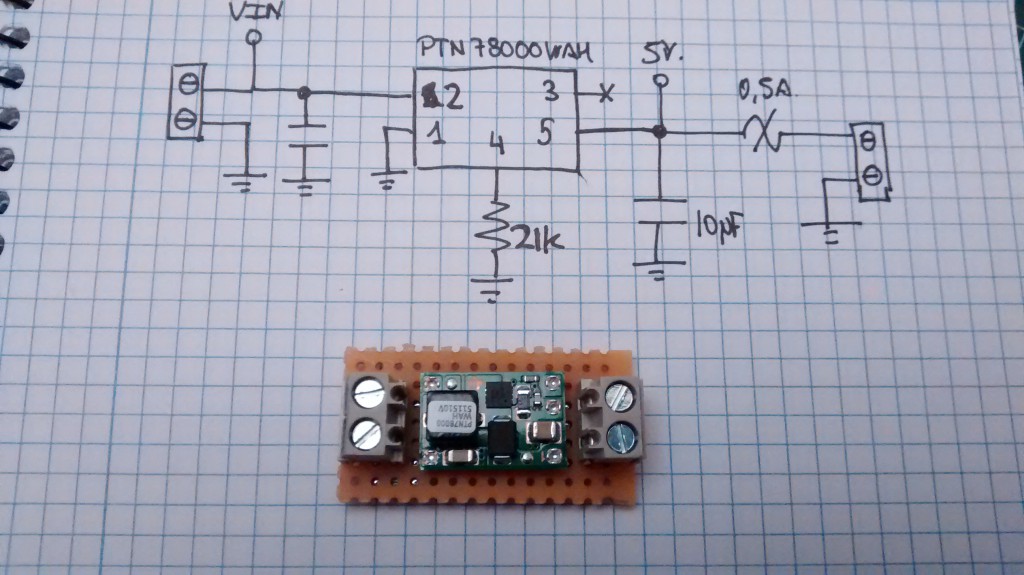
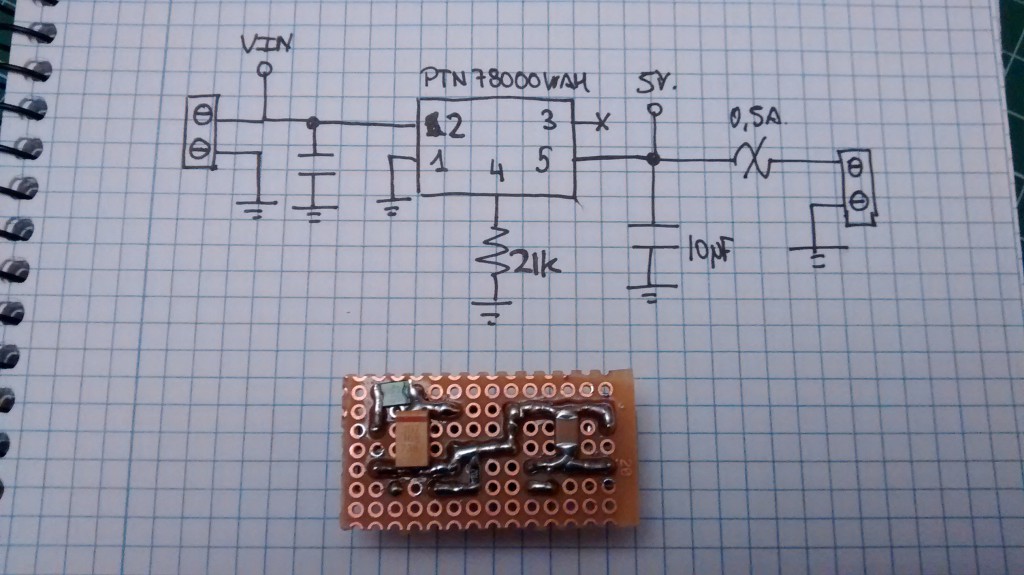
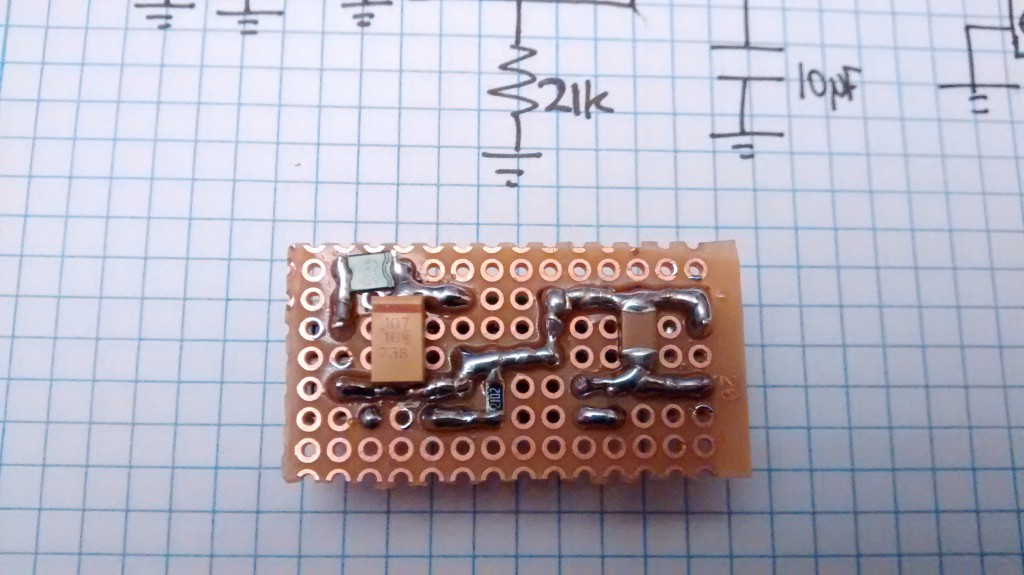
Perfect! Once the mechanical part is finish, let’s go with the electronics. The switch is powered with a 9V external power supply. So, my idea is take this voltage and reduce it to the 5V for the USB port using any converter. The easy way is use a LM7805 or similar linear regulator, it’s enough and will work fine. But I haven’t any at home, so I use a PTN78000WAH, from Texas Instruments. What’s this? It’s a high-efficiency, step-down Integrated Switching Regulators that can give up to 1.5 A and has a wide input voltage, from 7V to 36V. It only requires two capacitors (Input and output) and a resistor to fix the value of the output voltage (for 5V output, the required value is 21K). Obviously, is oversized for this application, but it’s the one I’ve on hand!. I mounted it on a breadboard, and also add a small 0.5A PPTC fuse on the output, to avoid damage the switch if there’s a shortcircuit on the USB port. The schematic and the breadboard are this:
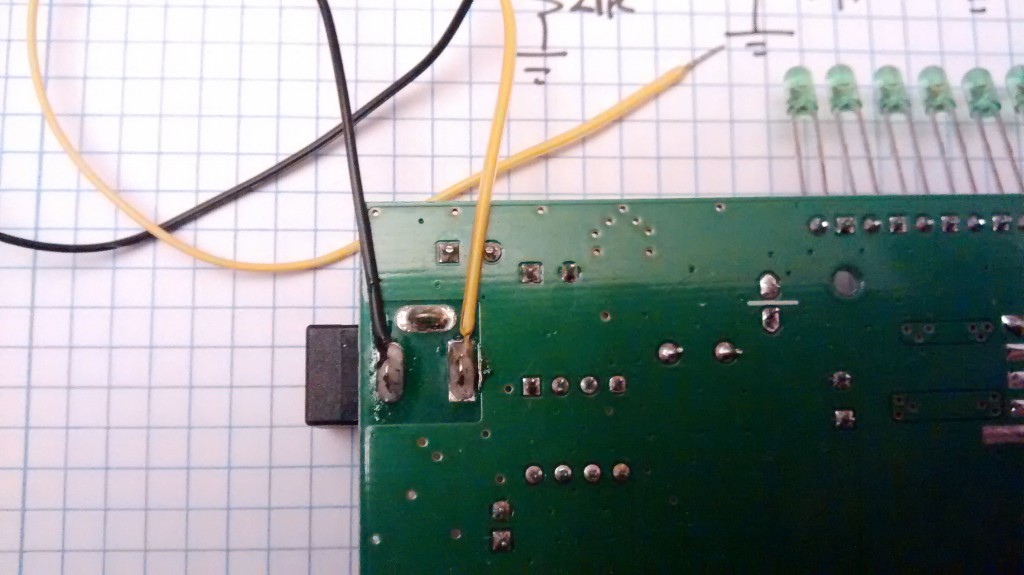
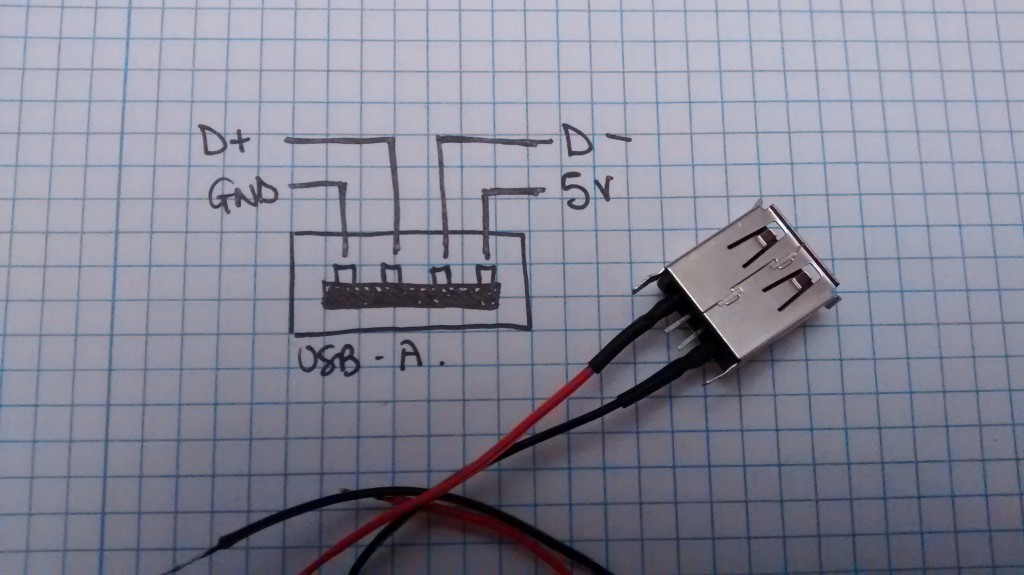
 Now is time to wire the USB A connector and also obtain the 9V input voltage to the breadboard:
 With all the wires ready, it’s time to make a test to ensure all works fine before assembly it on the case:
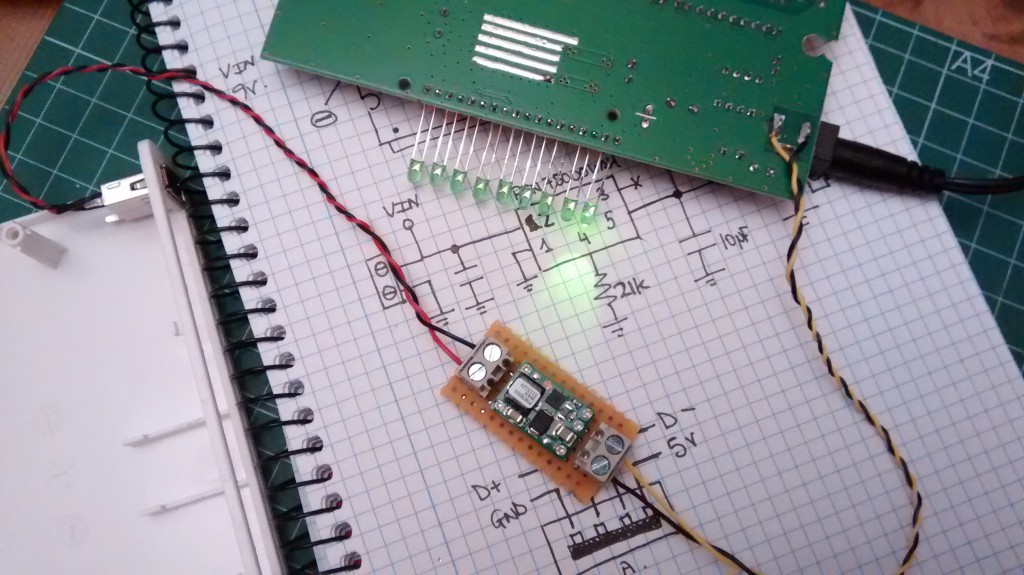
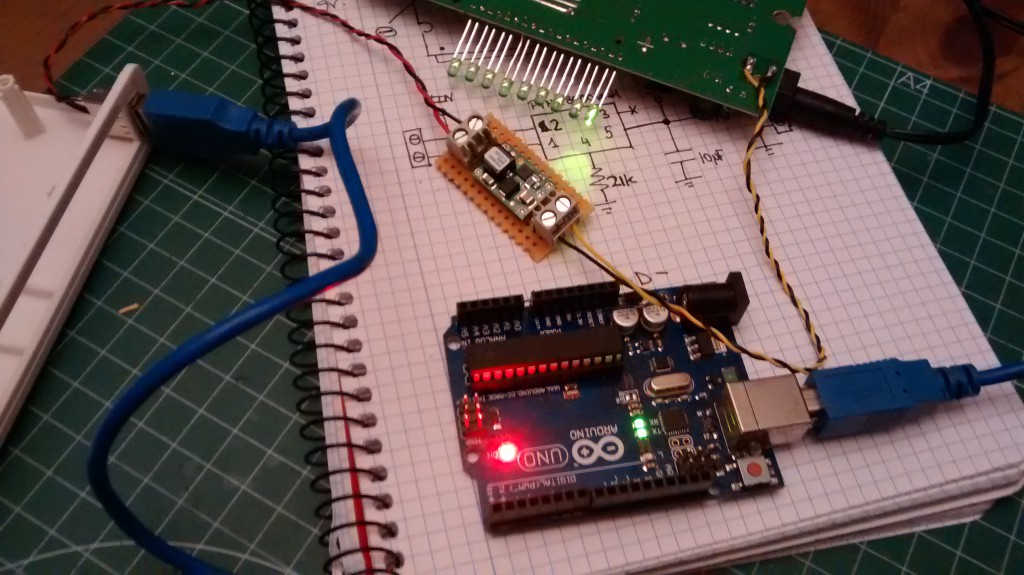 Ligths are good! All works fine, so it’s time to put all the elements on the case and close it. To fix both USB connector and breadboard, I use hot glue:
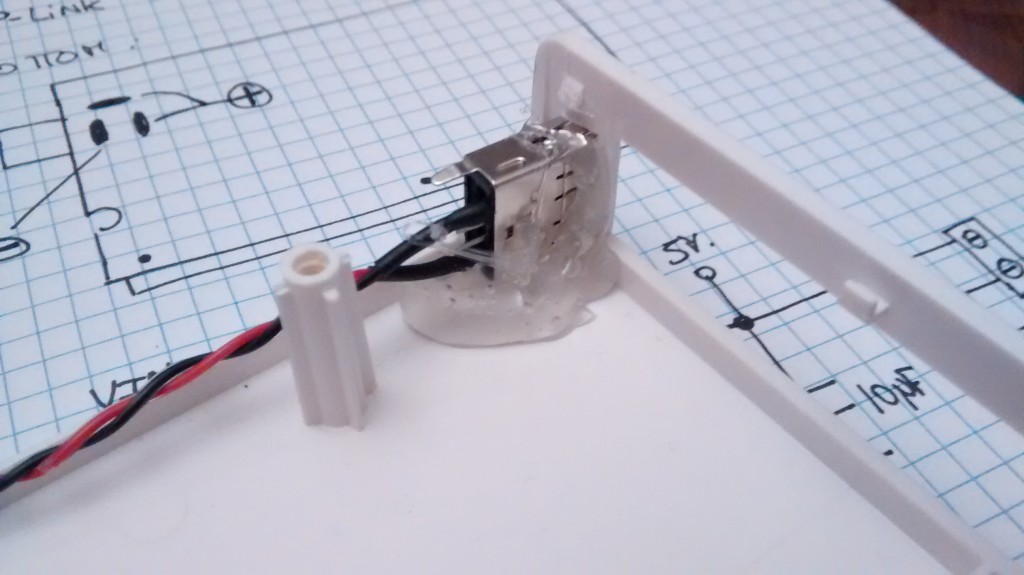
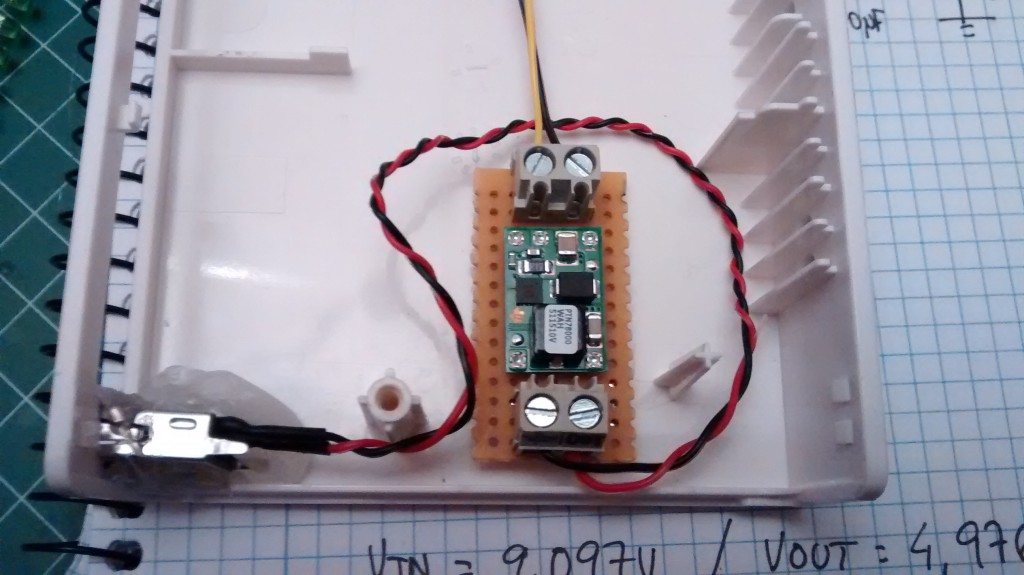

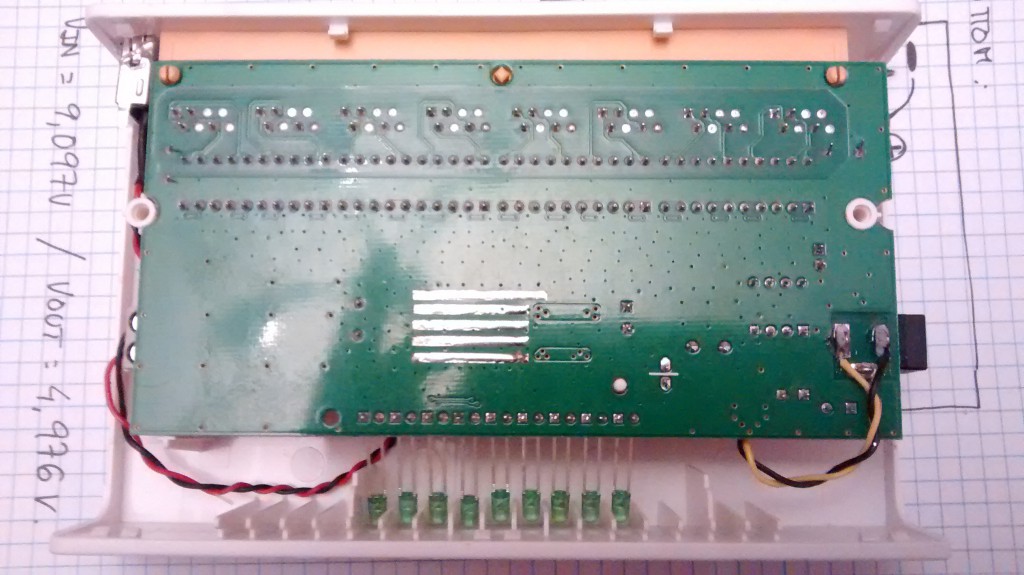 And finally, we only need to put the cover on the switch and enjoy with our new USB port!
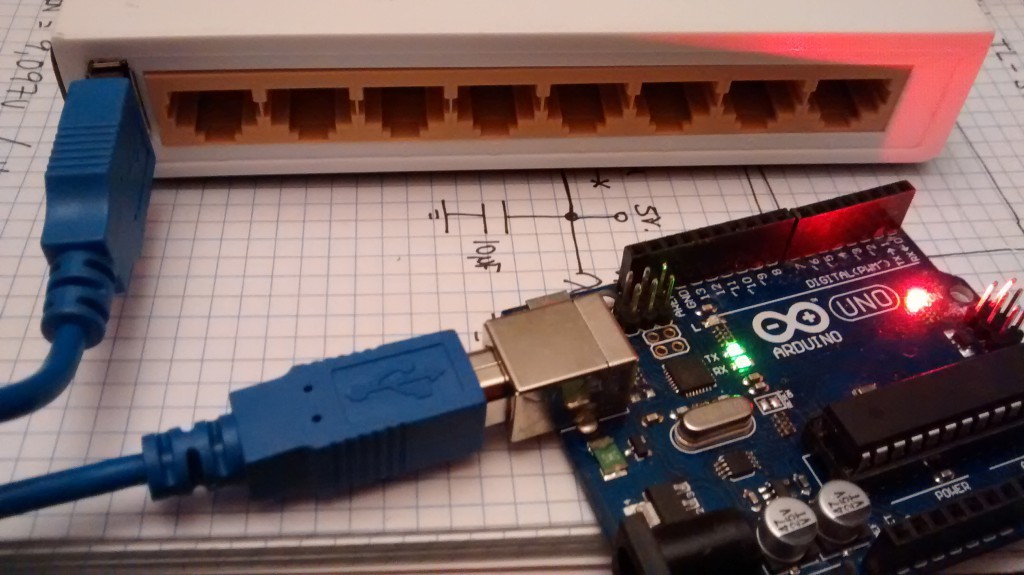
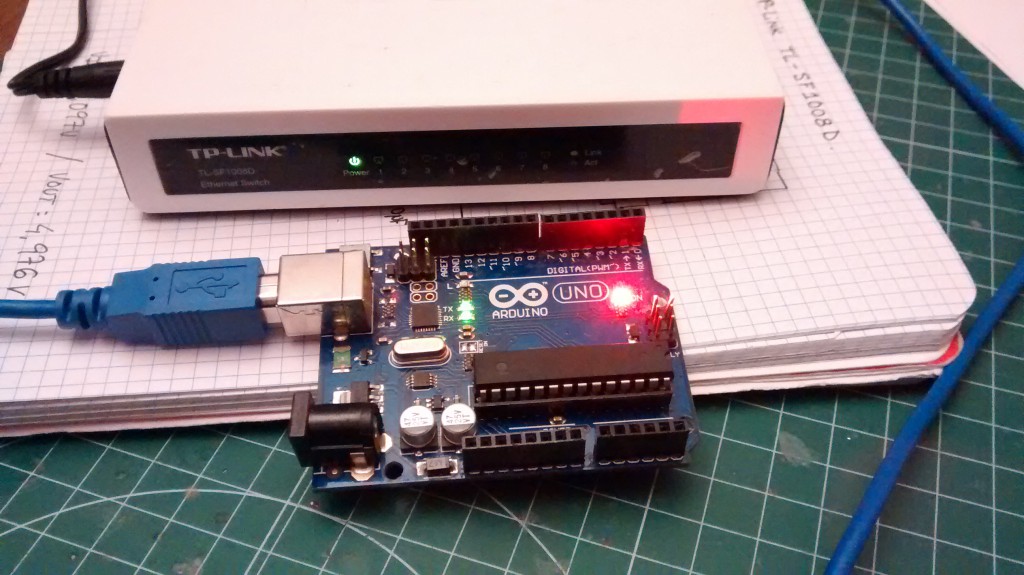


Pingback: Adding a USB power port to a switch for IoT - Electronics-Lab
Pingback: Adding a USB power port to a switch for IoT - Arduino collector blog
Pingback: Adding a USB power port to a switch for IoT | Electronics Infoline
Pingback: Ethernet Switch Hacked to Include USB Power Port for #Arduino « Adafruit Industries – Makers, hackers, artists, designers and engineers!
Pingback: USB Port pada Switch/Router untuk IoT - Starlectric