
UPDATE: This project appears on Hackaday’ Blog. For me it’s an honor, I only can say tanks!!!
This project starts a few weeks ago. My six years old daughter usually sleeps with a light on in her bedroom. Talking with her, we decide to hack her LAMPAN Ikea lamp to make some improvements, including a manual RGB controller to set the light colour, a timeout to turn off the light after 30 minutes without changes and a bluetooth connection to control the lamp with a smartphone or tablet. So, if you continue reading the post, you’ll see what we develop!
The aim of this project, besides my own entertainment, is to have a lamp with the following features:
- First, and obviously, maintain the connection for a light bulb, for the times that she wants to read before sleep.
- Set manually the colour of the lamp on a easy way. This includes turn on the light bulb, change the colour or turn off the lamp.
- Also, the colour can vary from a device with a bluetooth connection, such a mobile phone or tablet.
- Set a timeout to turn off automatically the lamp.
To develop this project, I use elements I’ve at home, so many of them are oversized (specially the SSR and the microcontroller). It’s possible design something similar on a more optimized way.
[metaslider id=1253]
- The Hardware
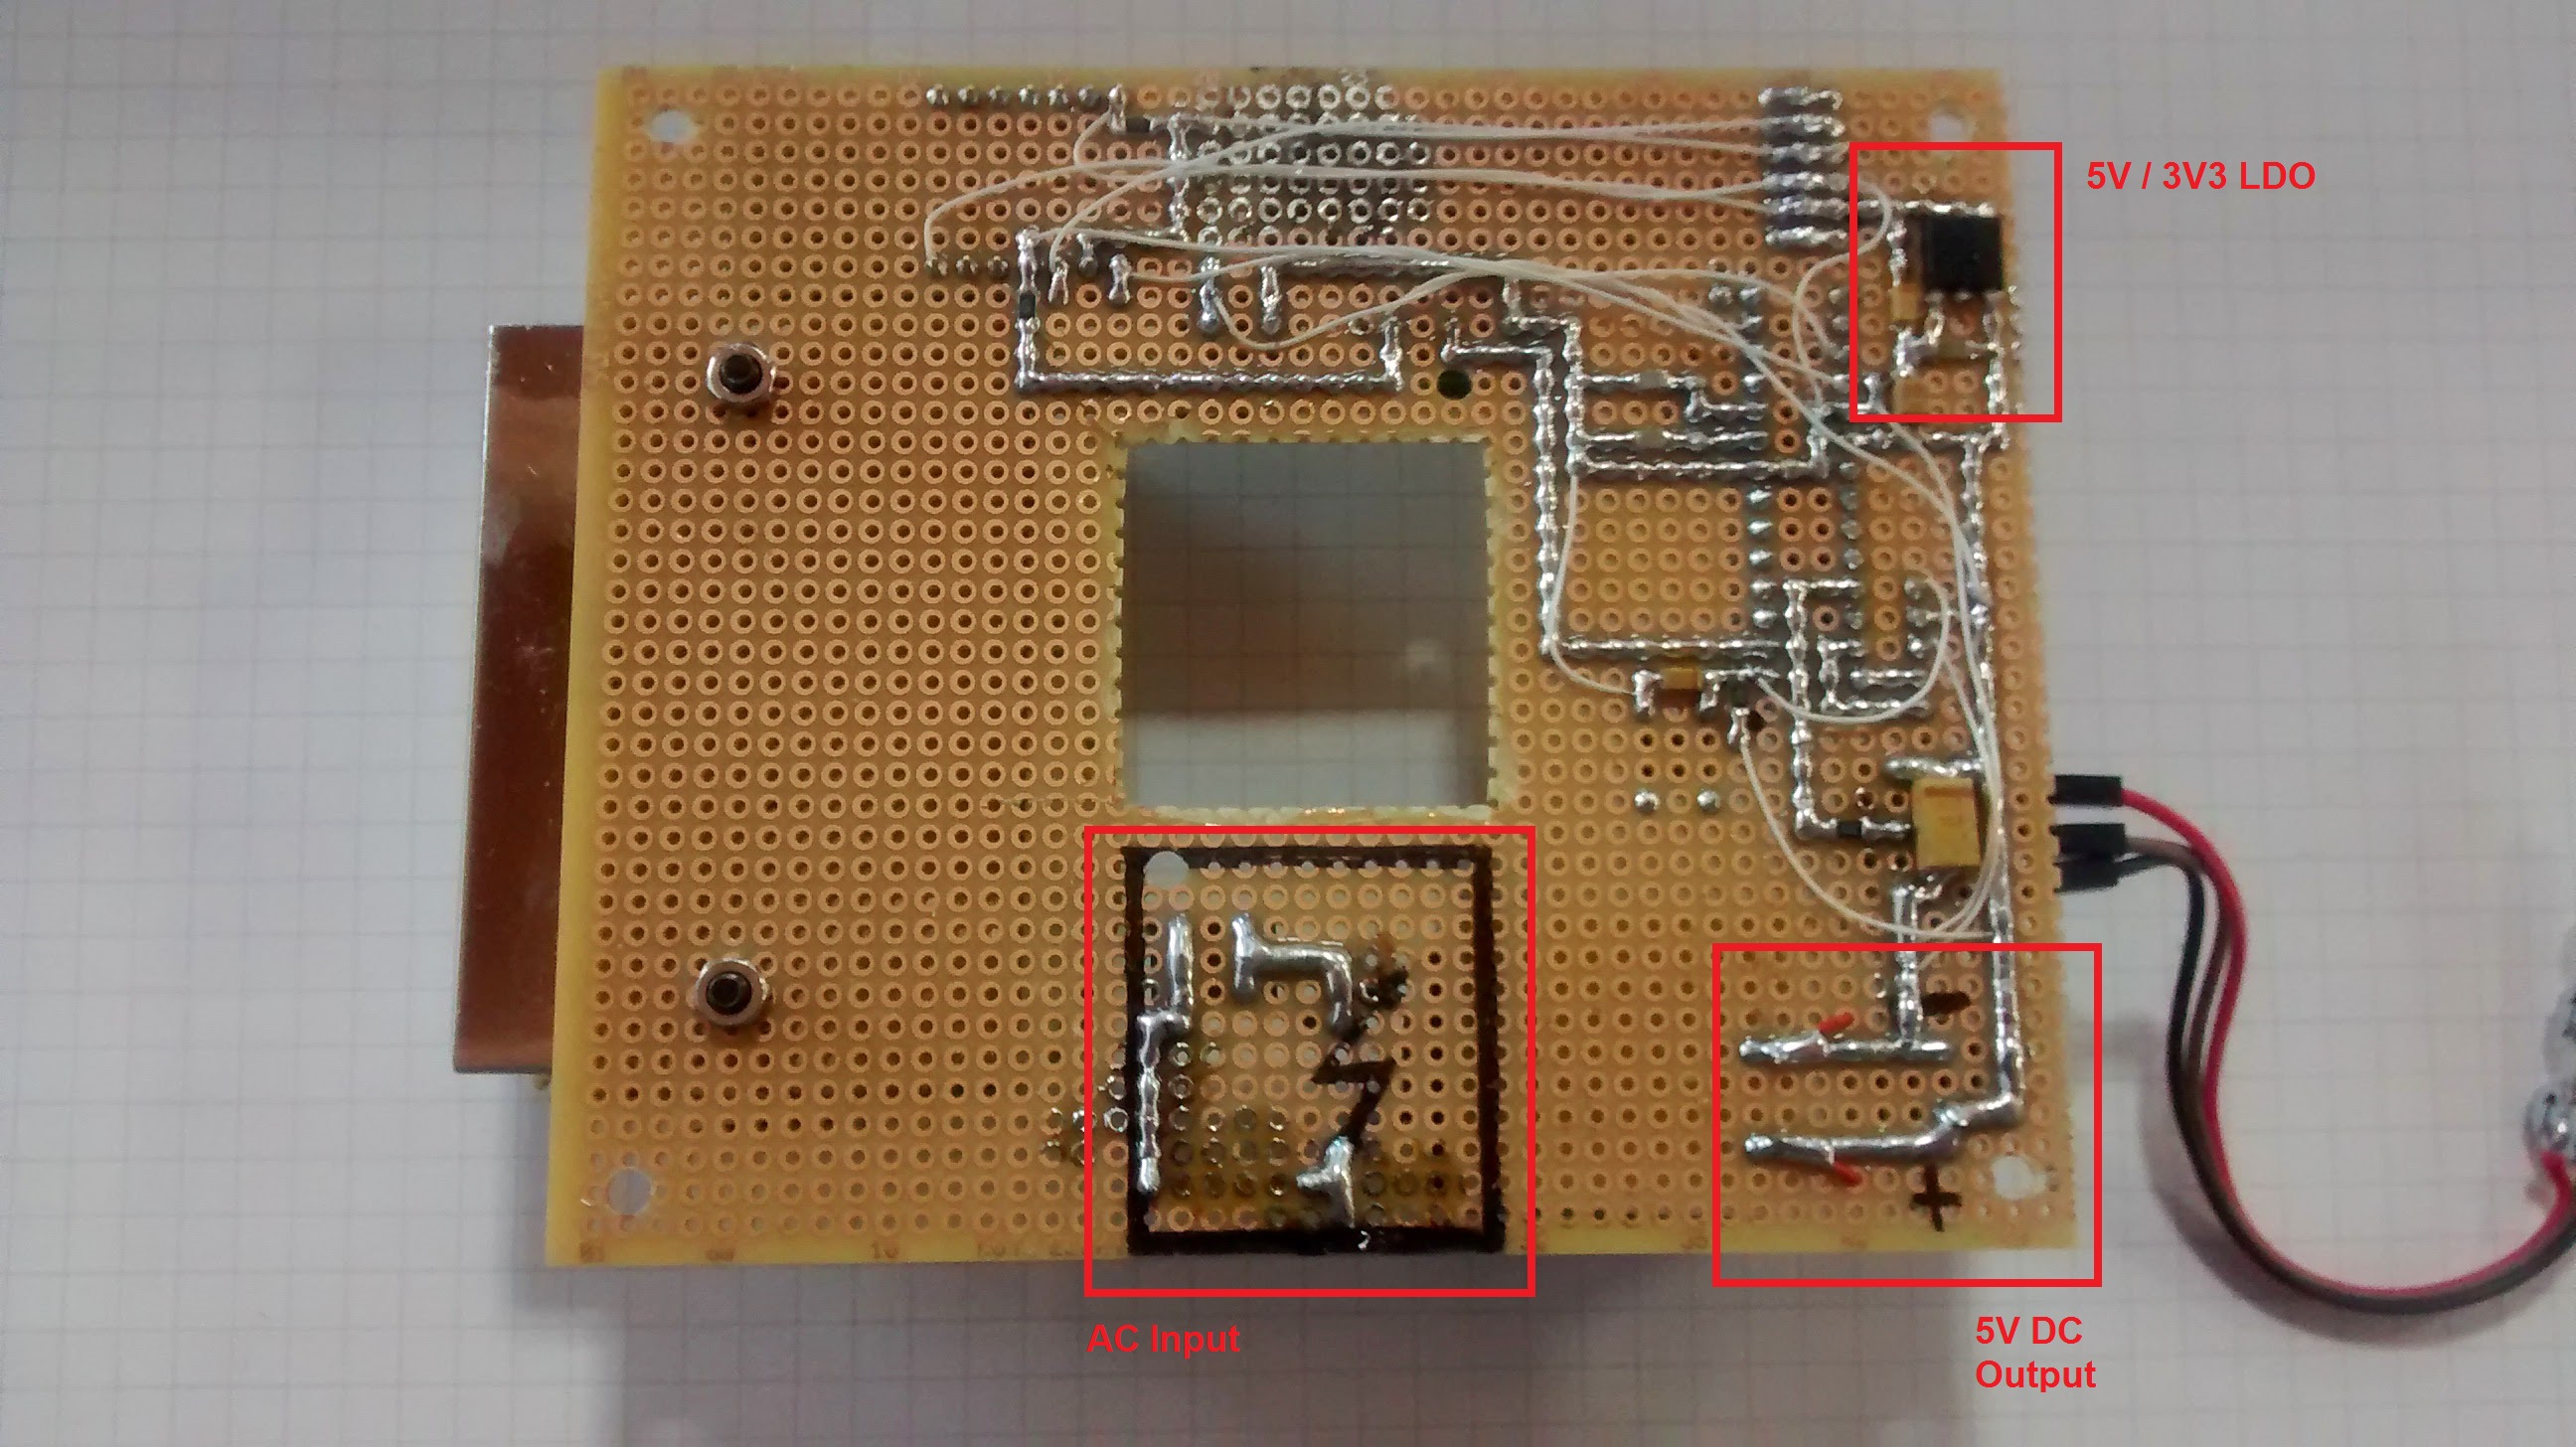
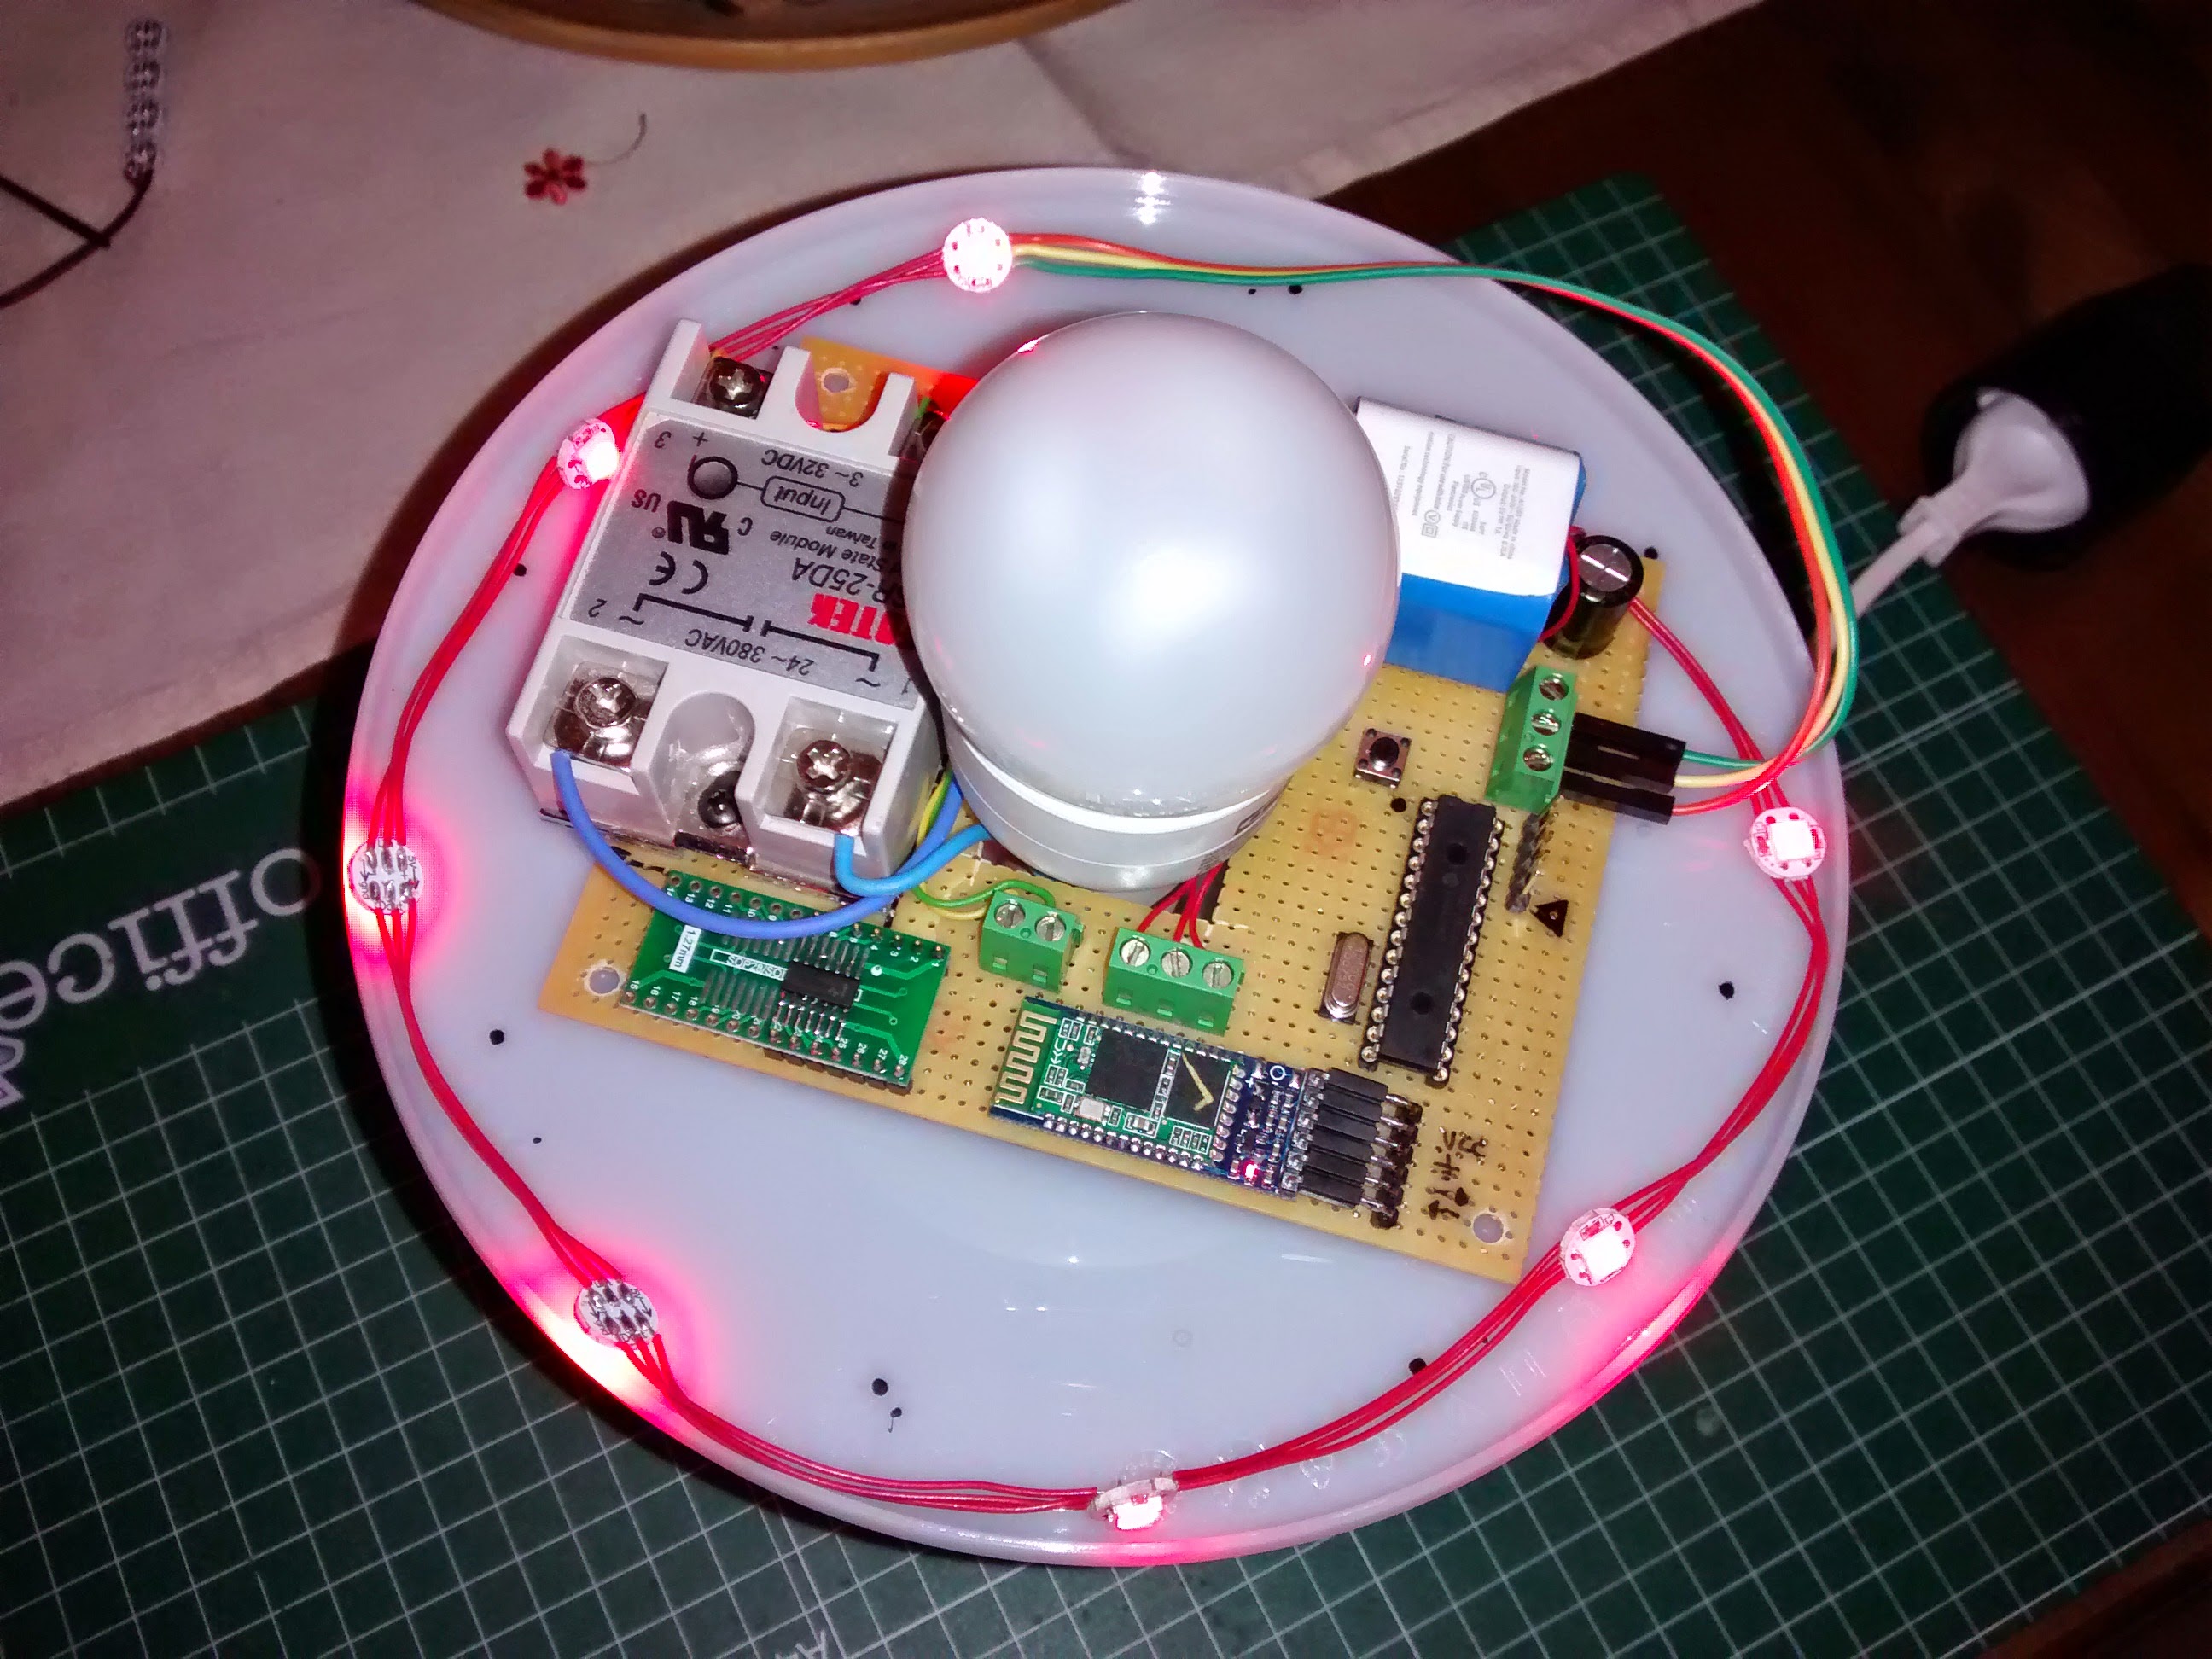
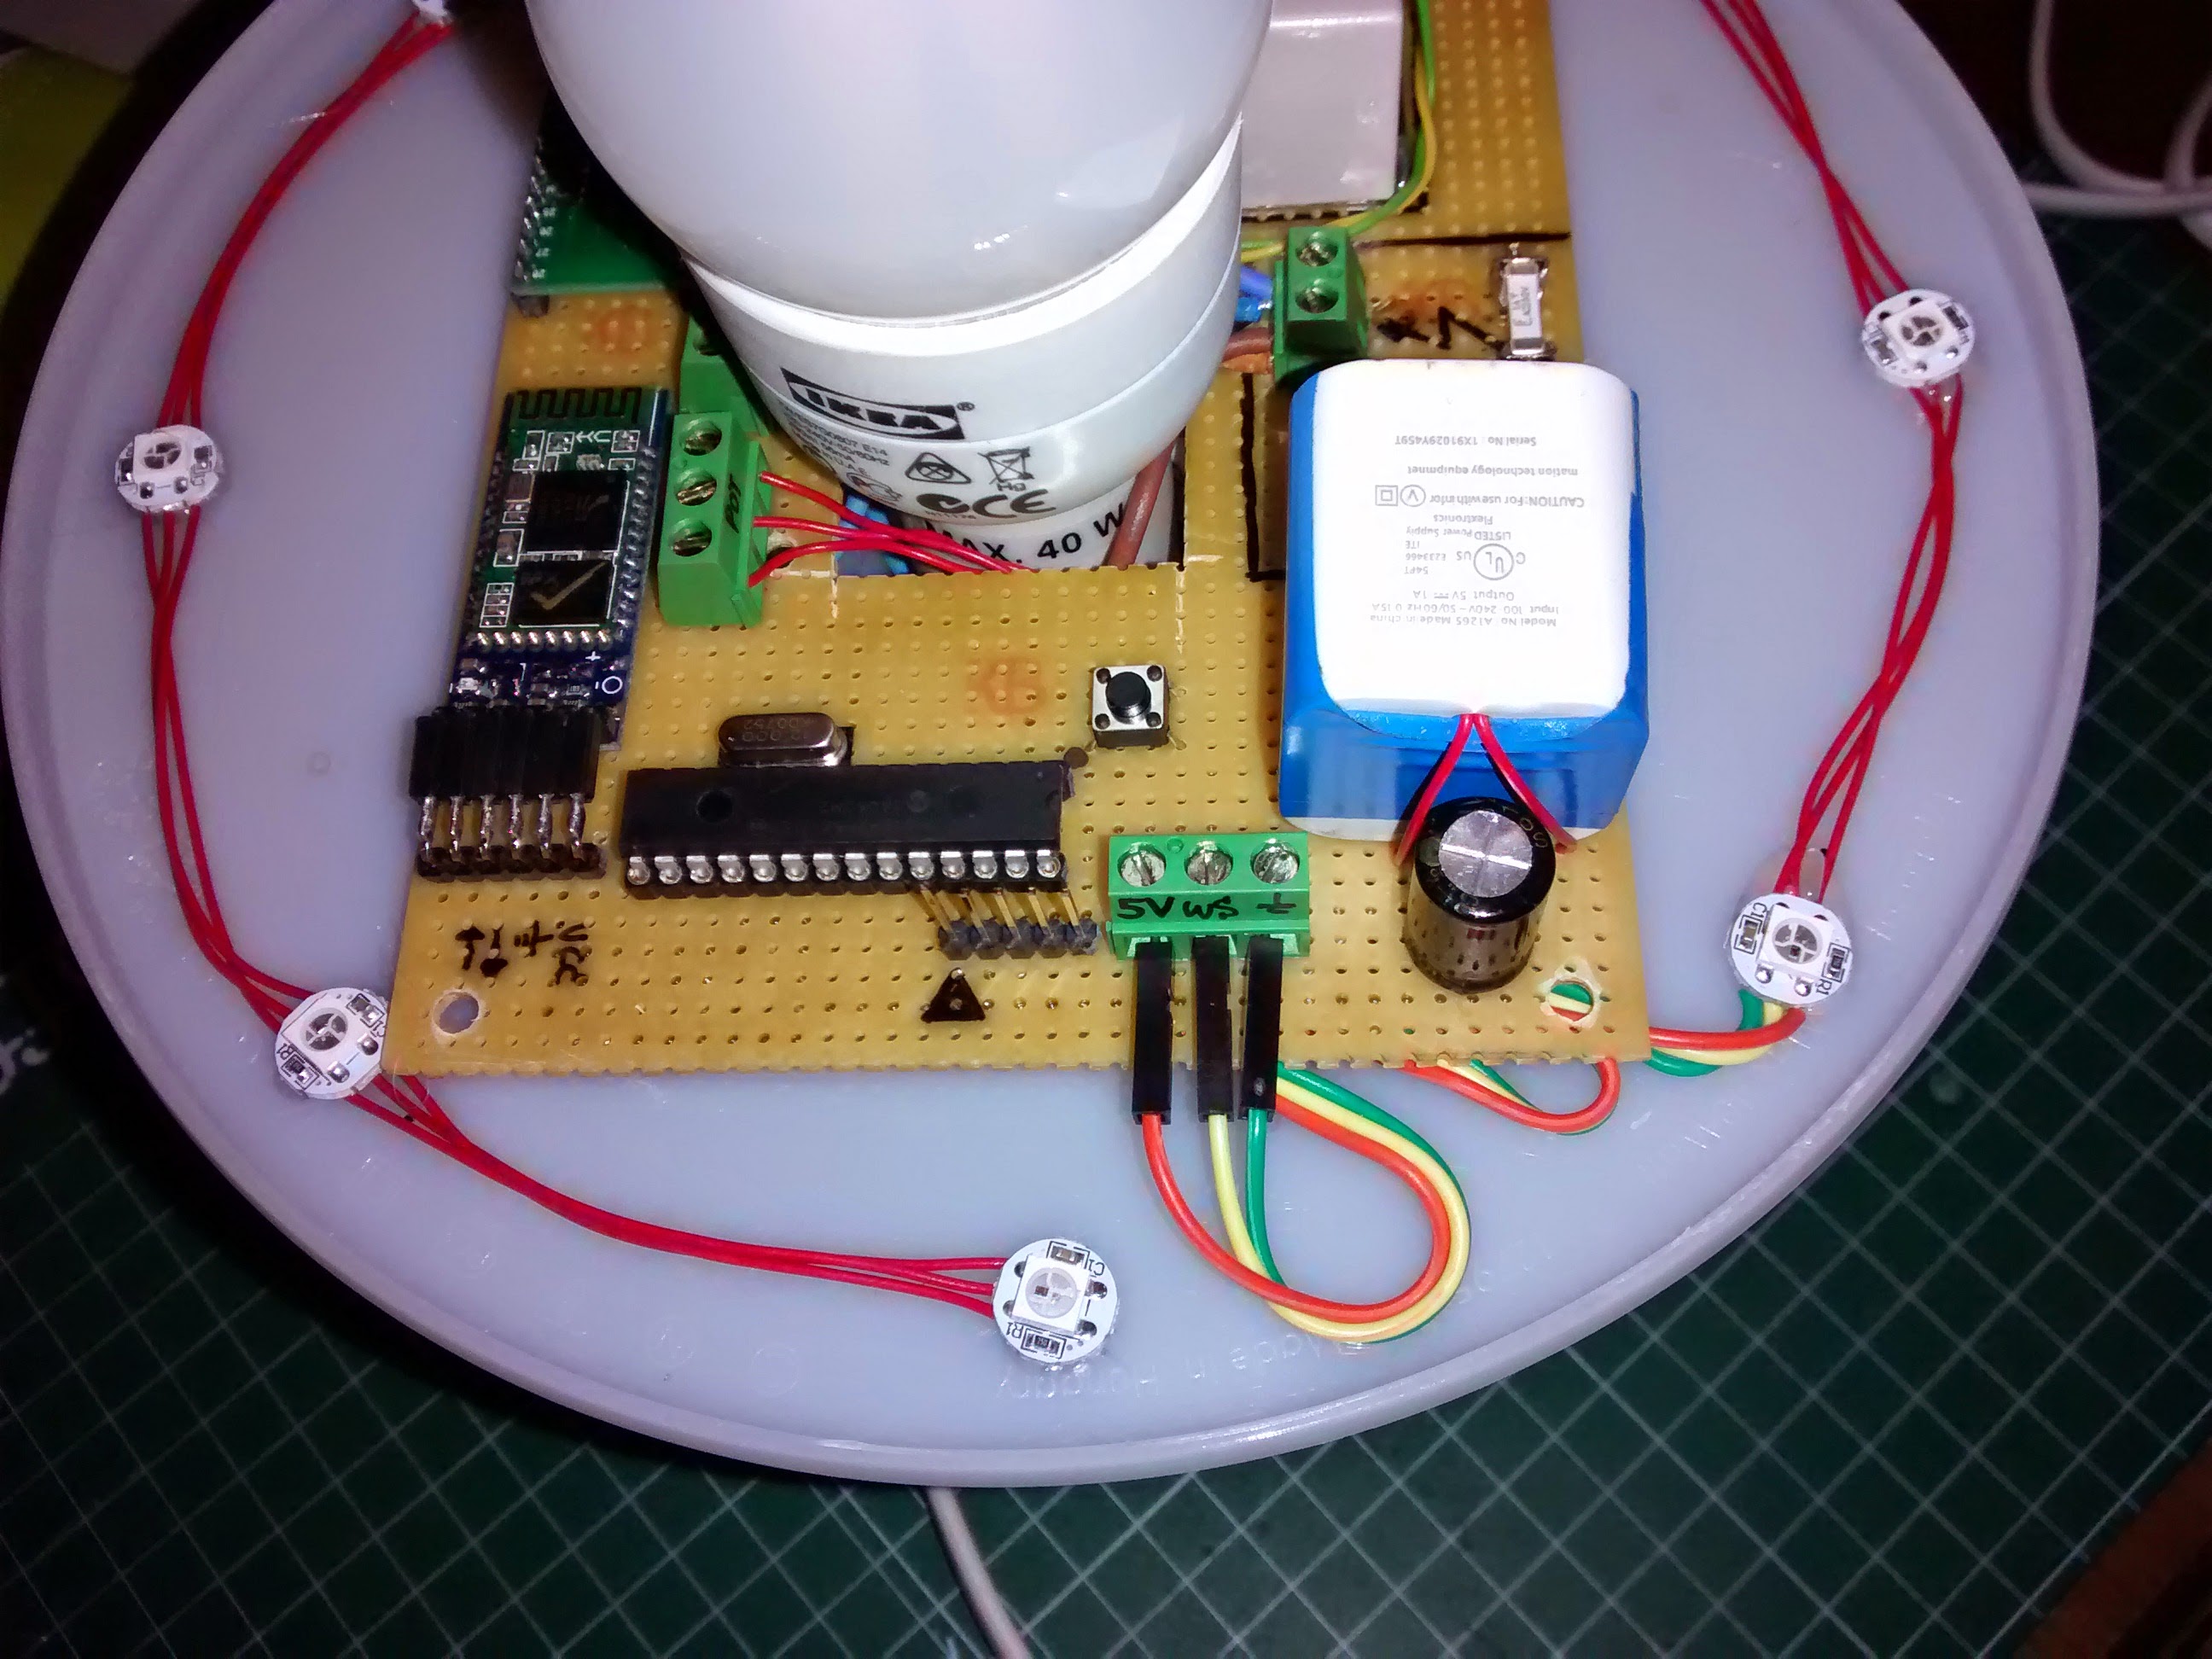
Here you can find the scheme of the board I mount for this. The system is based on a PIC18F2550 microcontroller, with a 12MHz external crystal. This allows run up to 48MHz internal code (using the internal PLL), necessary to manage the RGB leds. The RGB led’s I use are this ones, that has built-in the WS2811 controller (are compatible with Adafruit Neopixel ones). I use 8 leds for the lamp illumination. Note the 100uF capactitor (C3) near of the led connector, to prevents the initial onrush of current from damaging the pixels. Also, R2 resistor (330 ohm) is bwtween the microcontroller pin and the first led to prevent voltage spikes. Check Adafruit Neopixel Guide for more info.
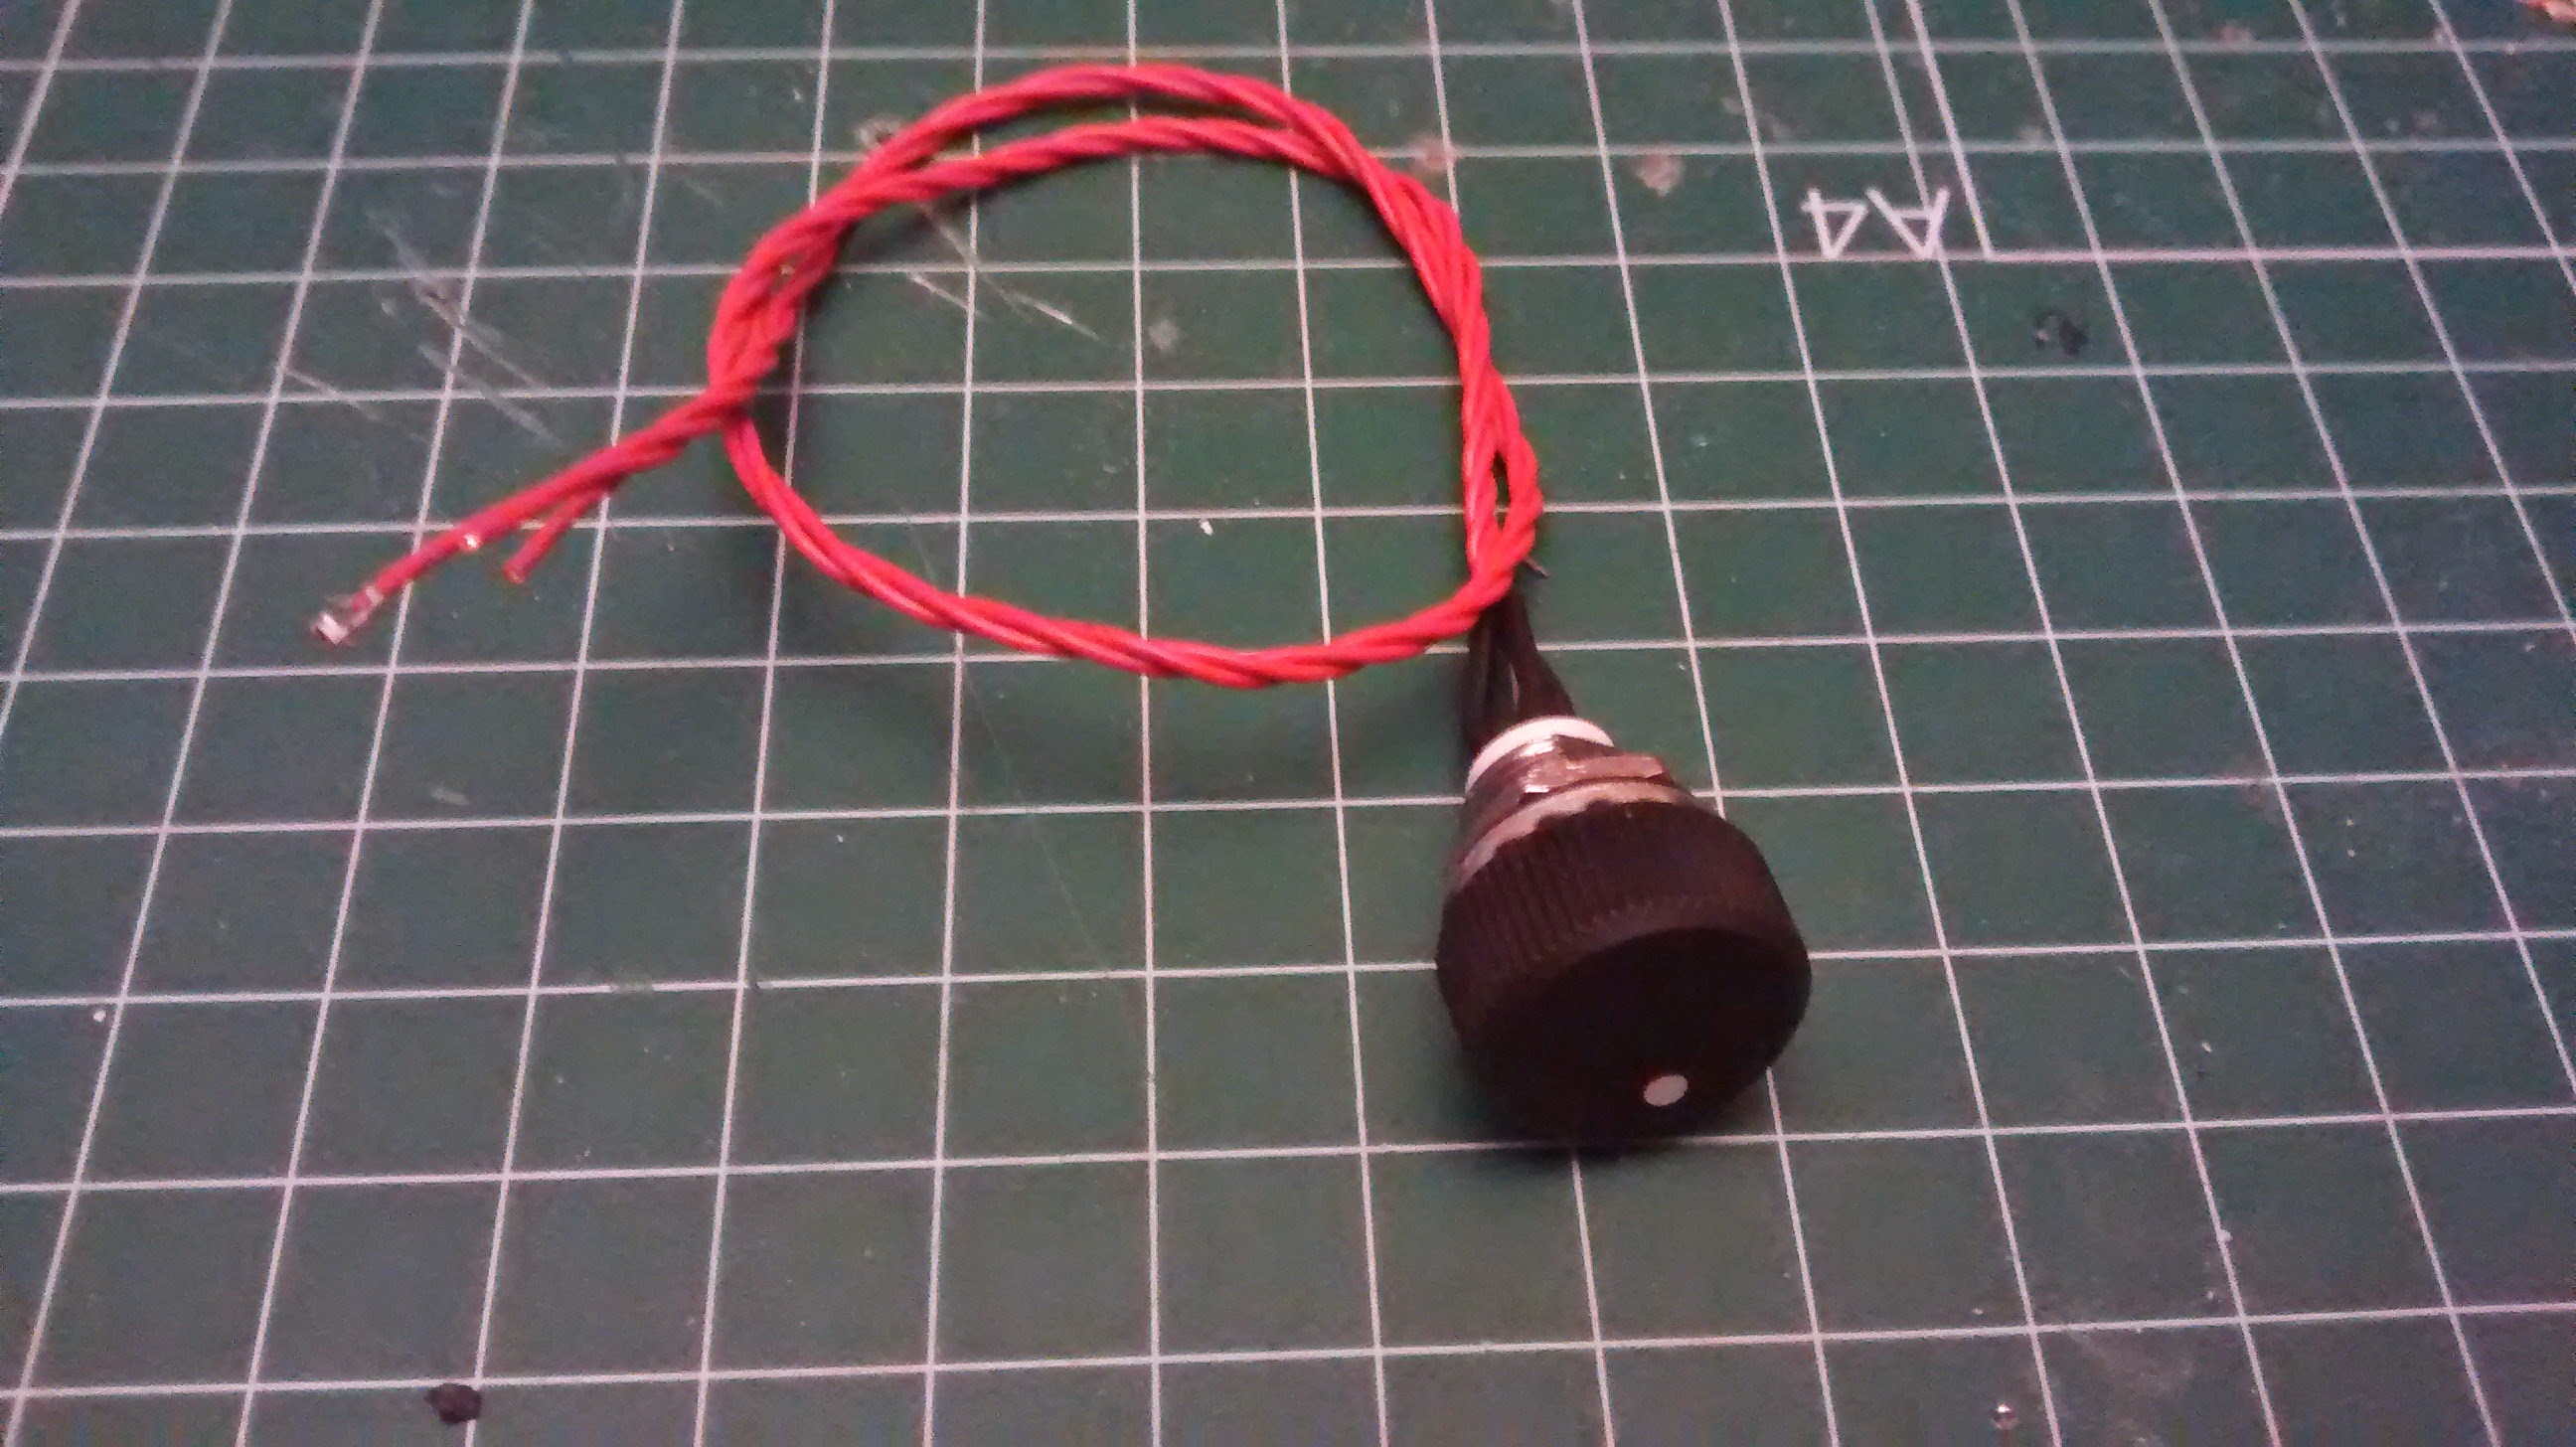
The physical human interface with the lamp is a potentiometer. Anything else. The value of the potentiometer is read with the 10-bit internal ADC of the microcontroller. On one end, the lamp will light with the bulb lamp, and in the other end, the lamp will turn off. In the middle, varying the pot, the led colours will vary according the read value (check the software section).
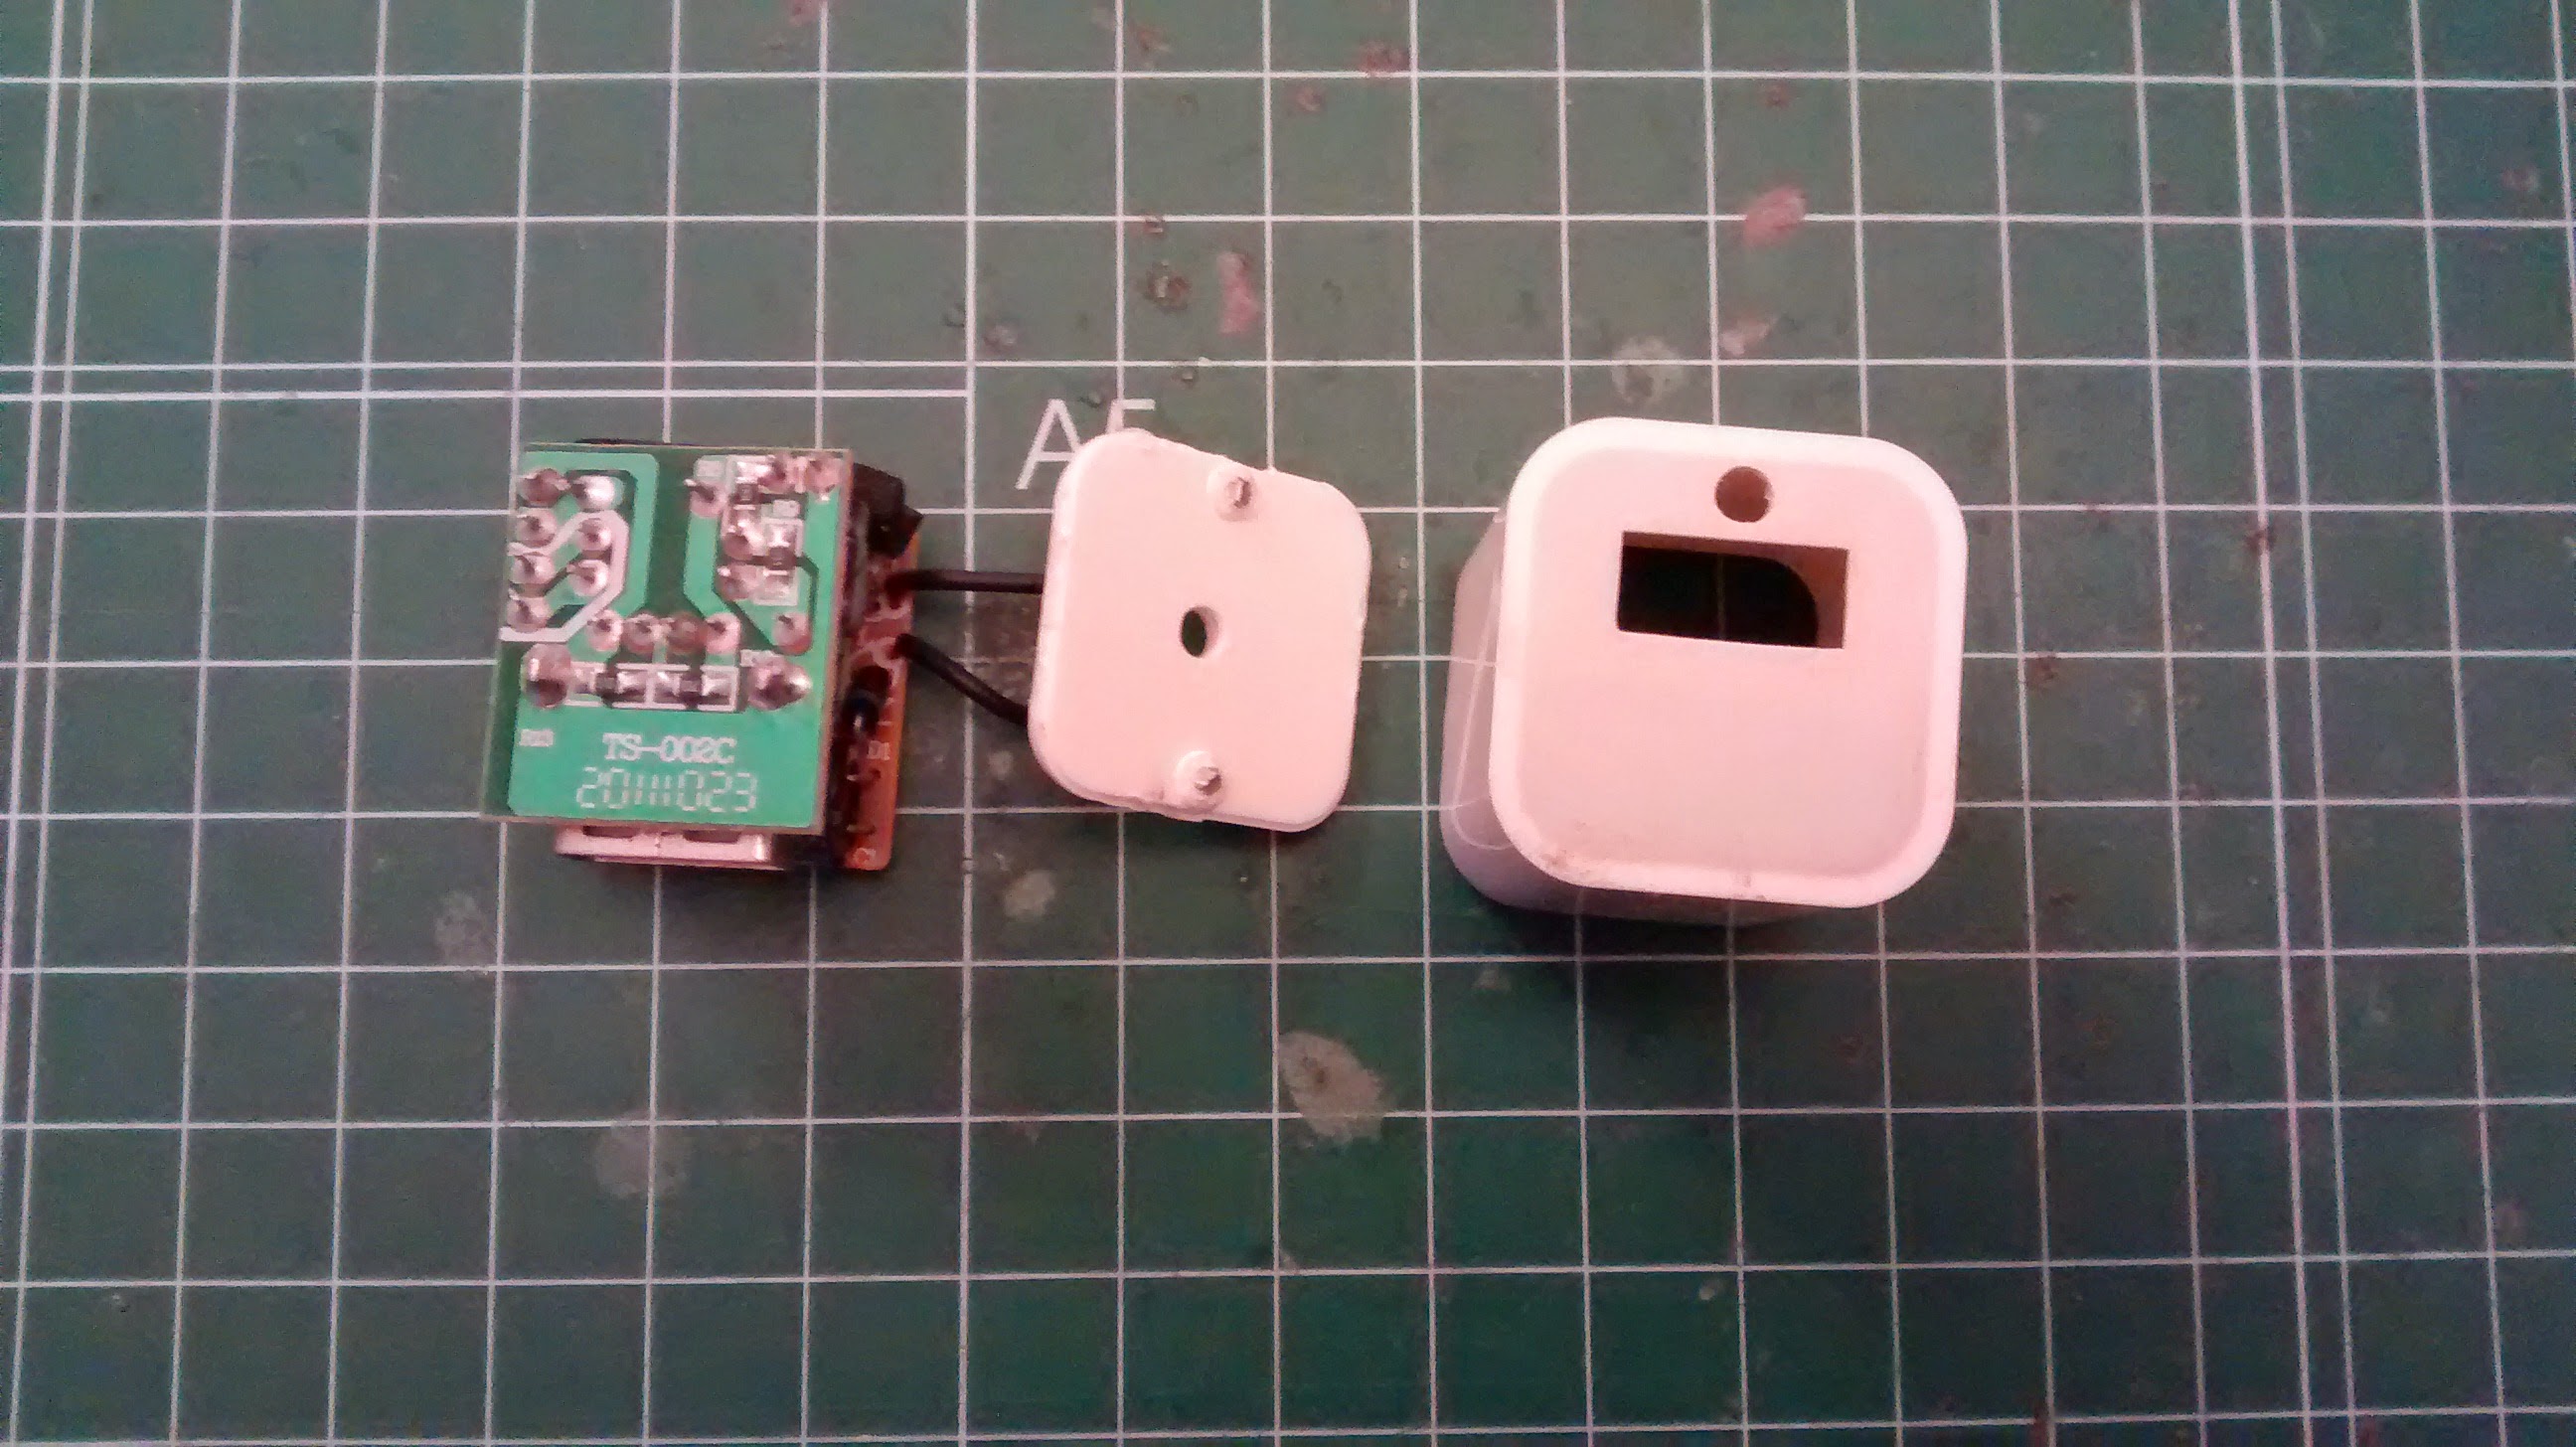
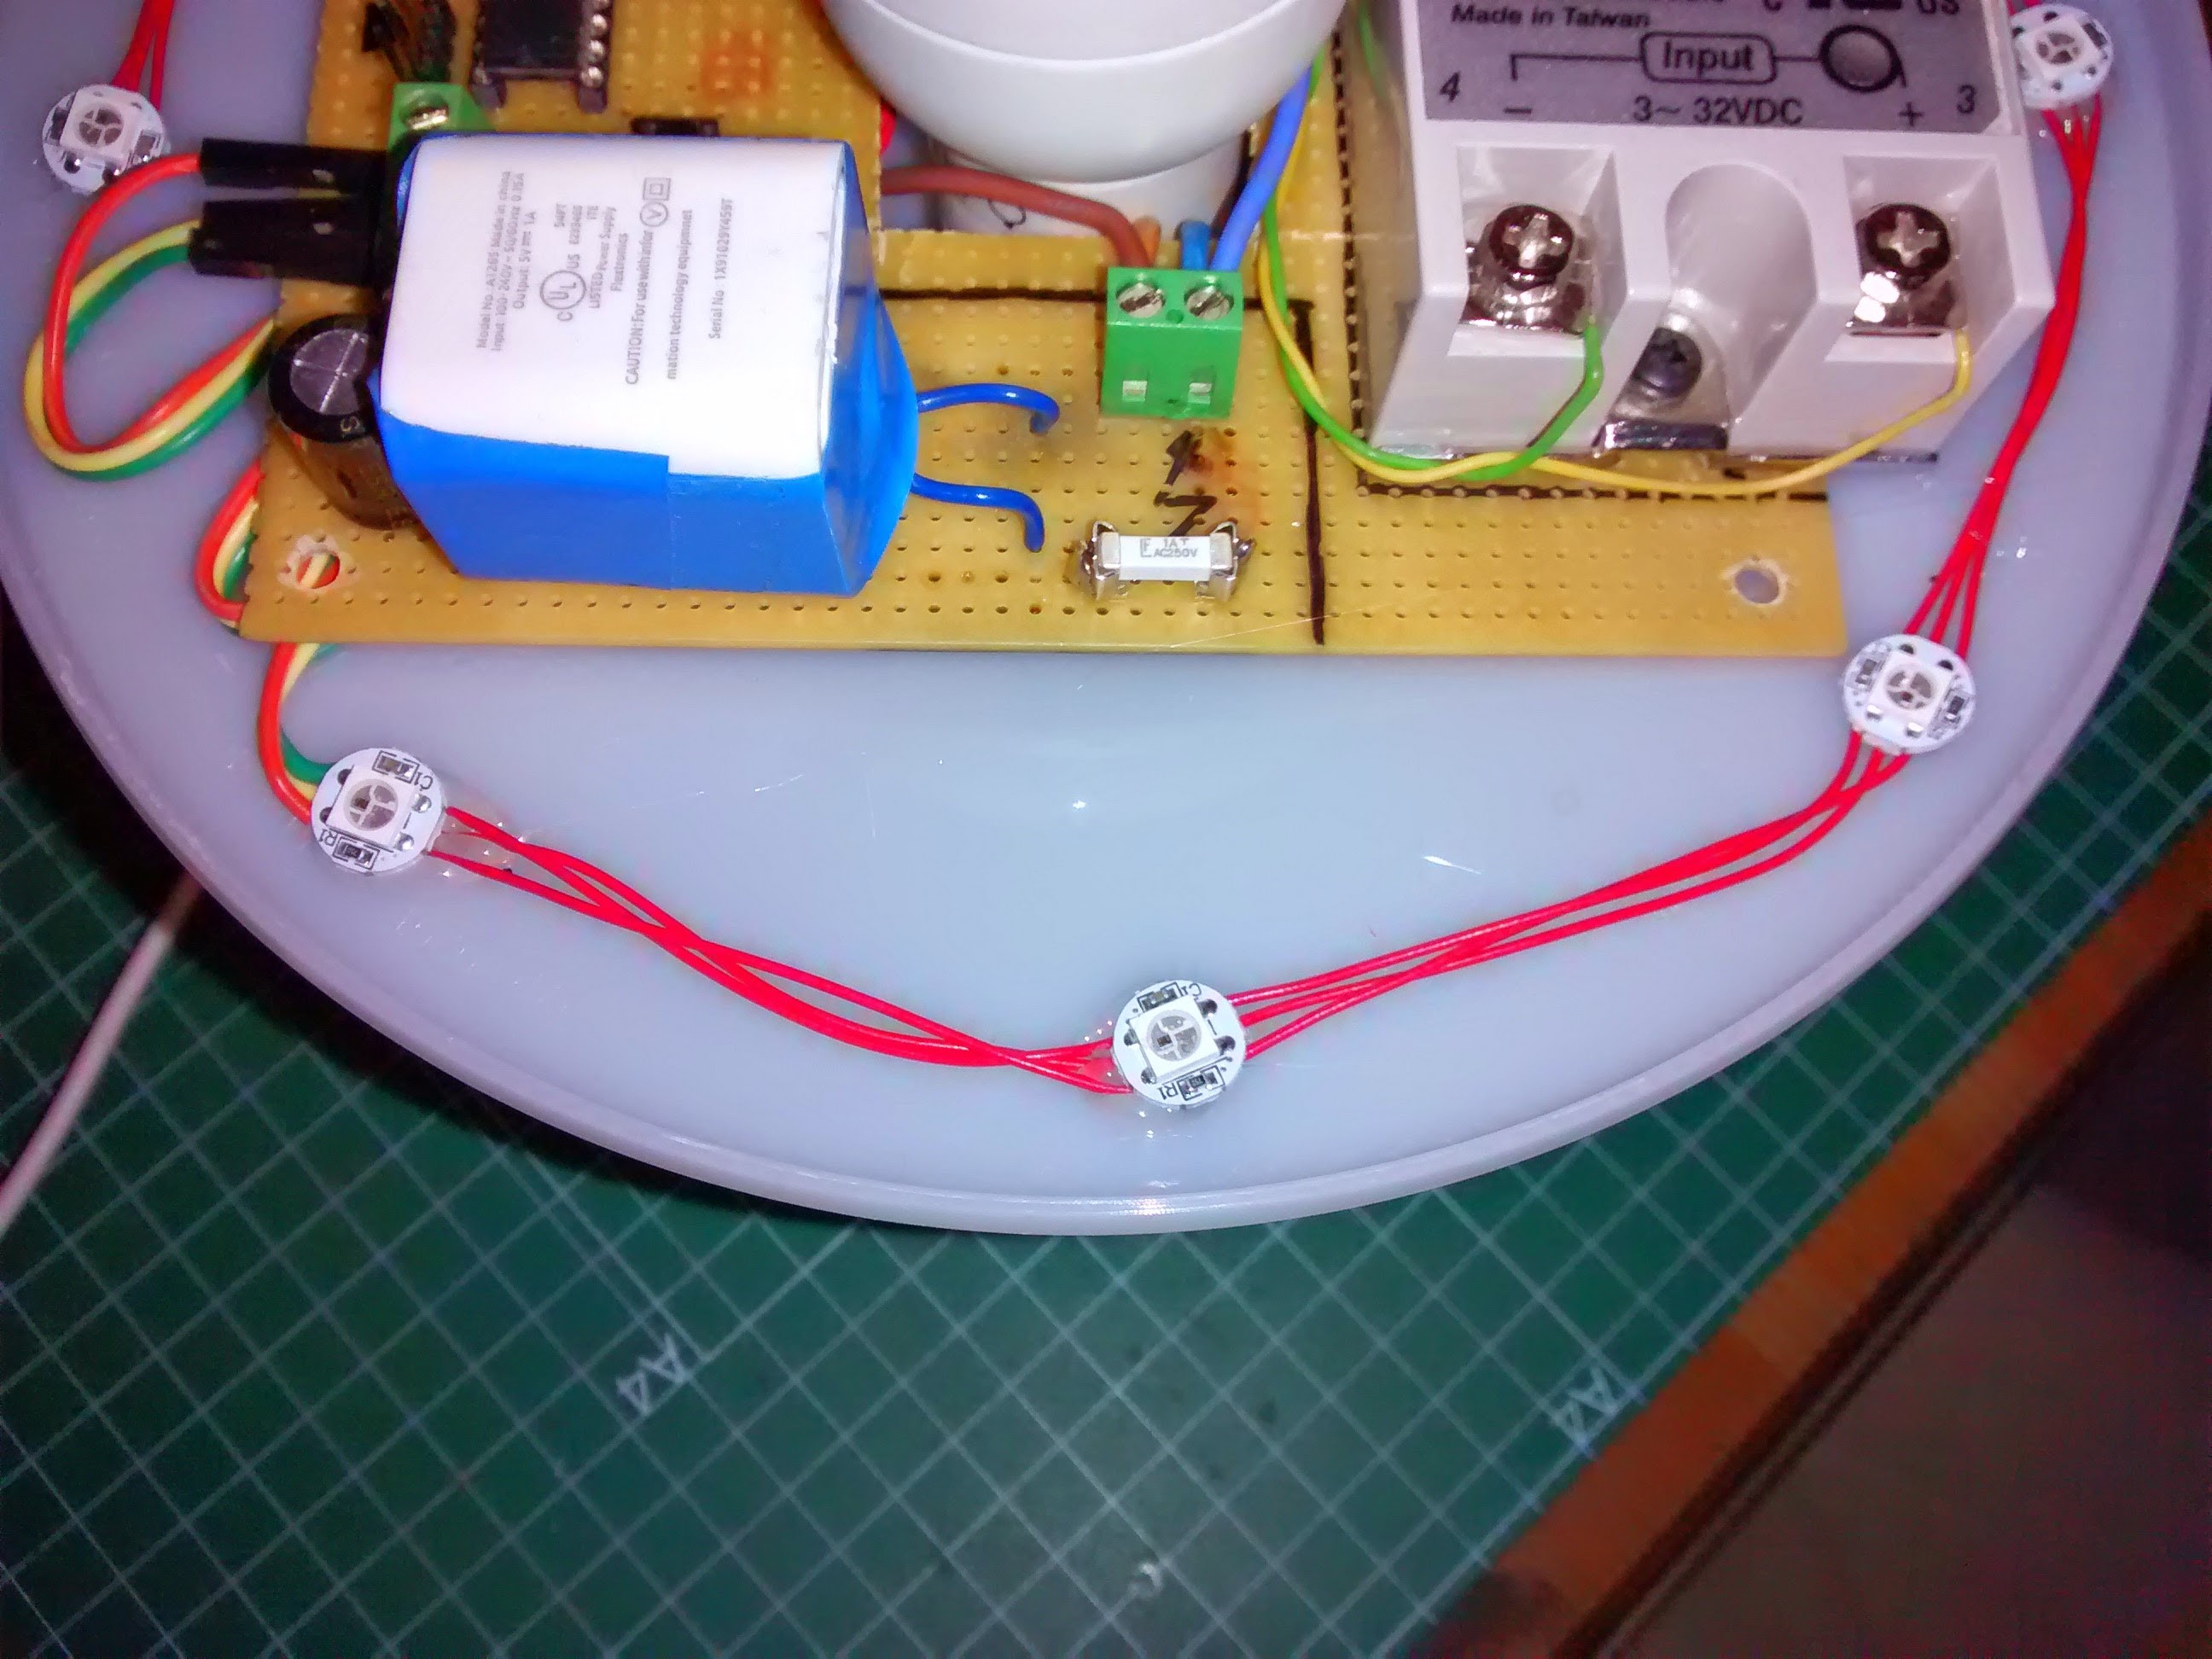
The lamp is connected to a 220VAc plug, so I need something to obtain 5Vcc to power the electronics. I buy a 2 eur home USB charger (like this one), it’s the easy and cheap way to have a 5V voltage to work with it. I add a 250VAC fuse in the Line input and a 1500uF capacitor at the output to stabilize the output voltage.
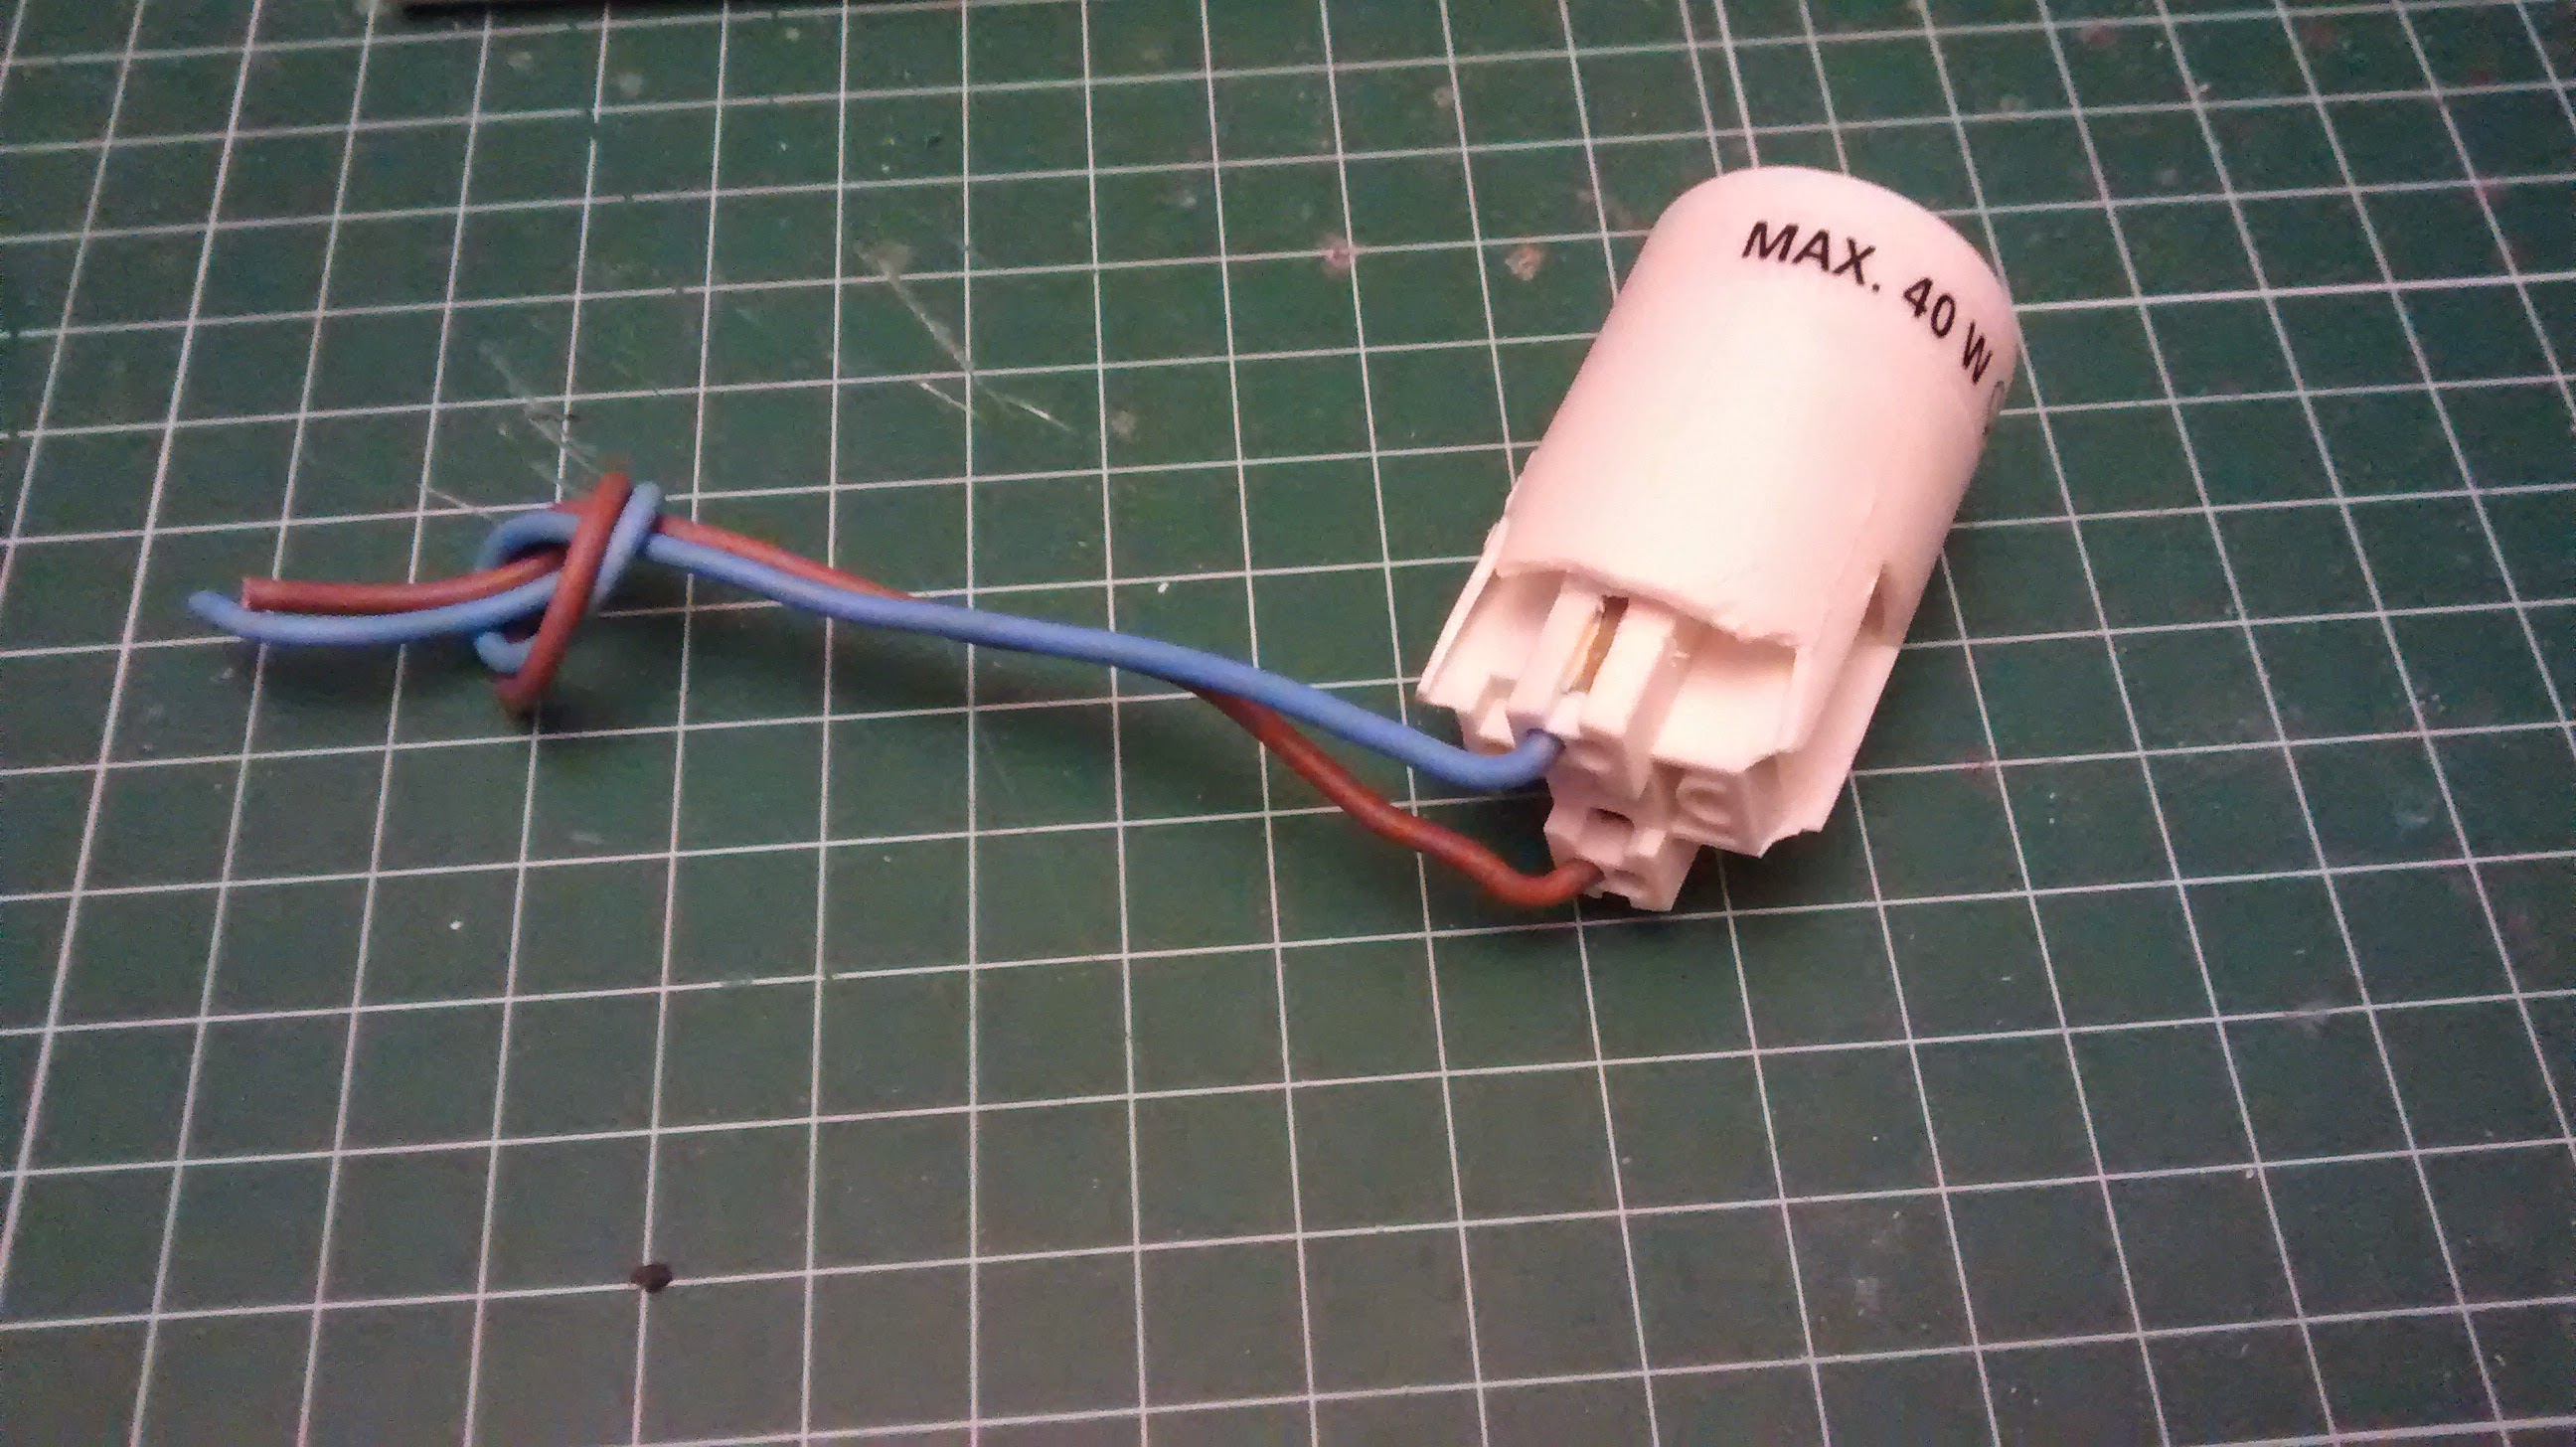
I use a SSR relay (this one) to connect the light bulb. I know is oversized (maximum light bulb on the lamp is 40w), but is the one I’ve got at home. These kind of relays works very well, and are very easy to work with it.
Finally, the bluetooth stage. I use the HC-05 module, very popular and also easy to work with it. Because it’s powered at 3.3V, I use a small LDO (U3) and a six open-collector buffer to adapt the signal levels (again oversized, I know).
Here’re a couple of photos with all the elements:

- Hacking the Lamp
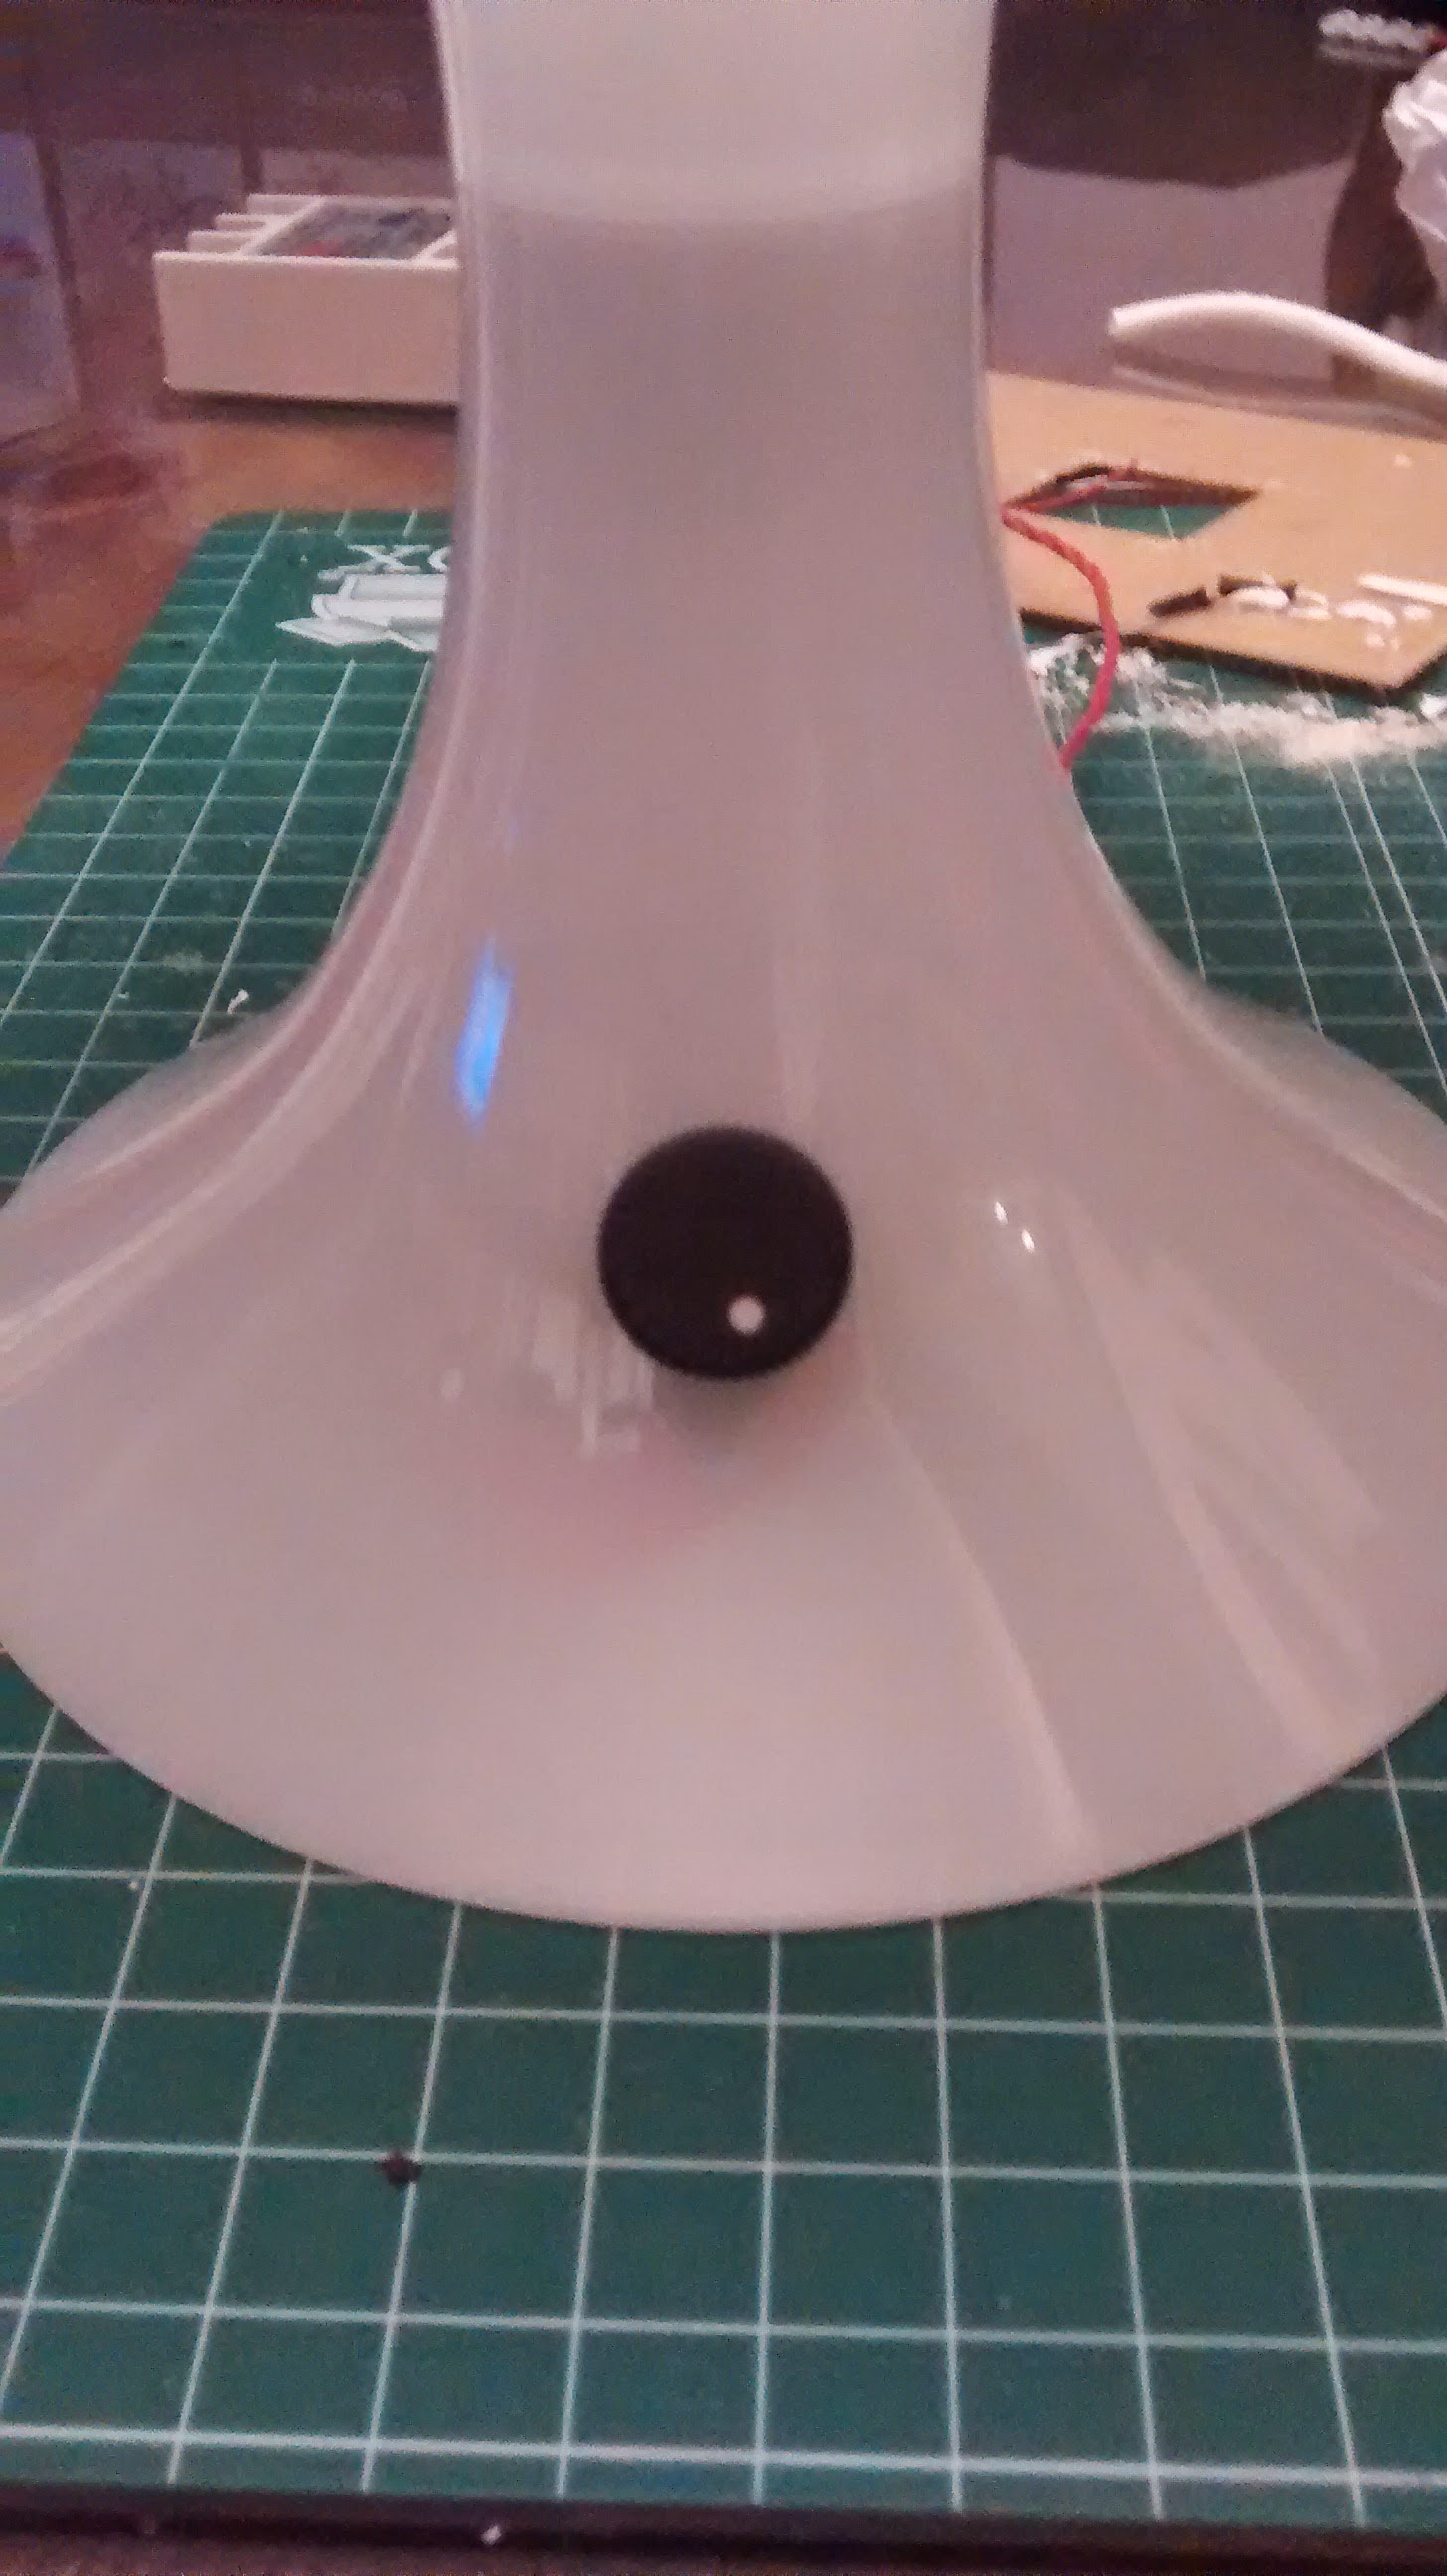
First thing I do to hack the lamp is prepare the potentiometer and make the hole on the foot of the lamp:

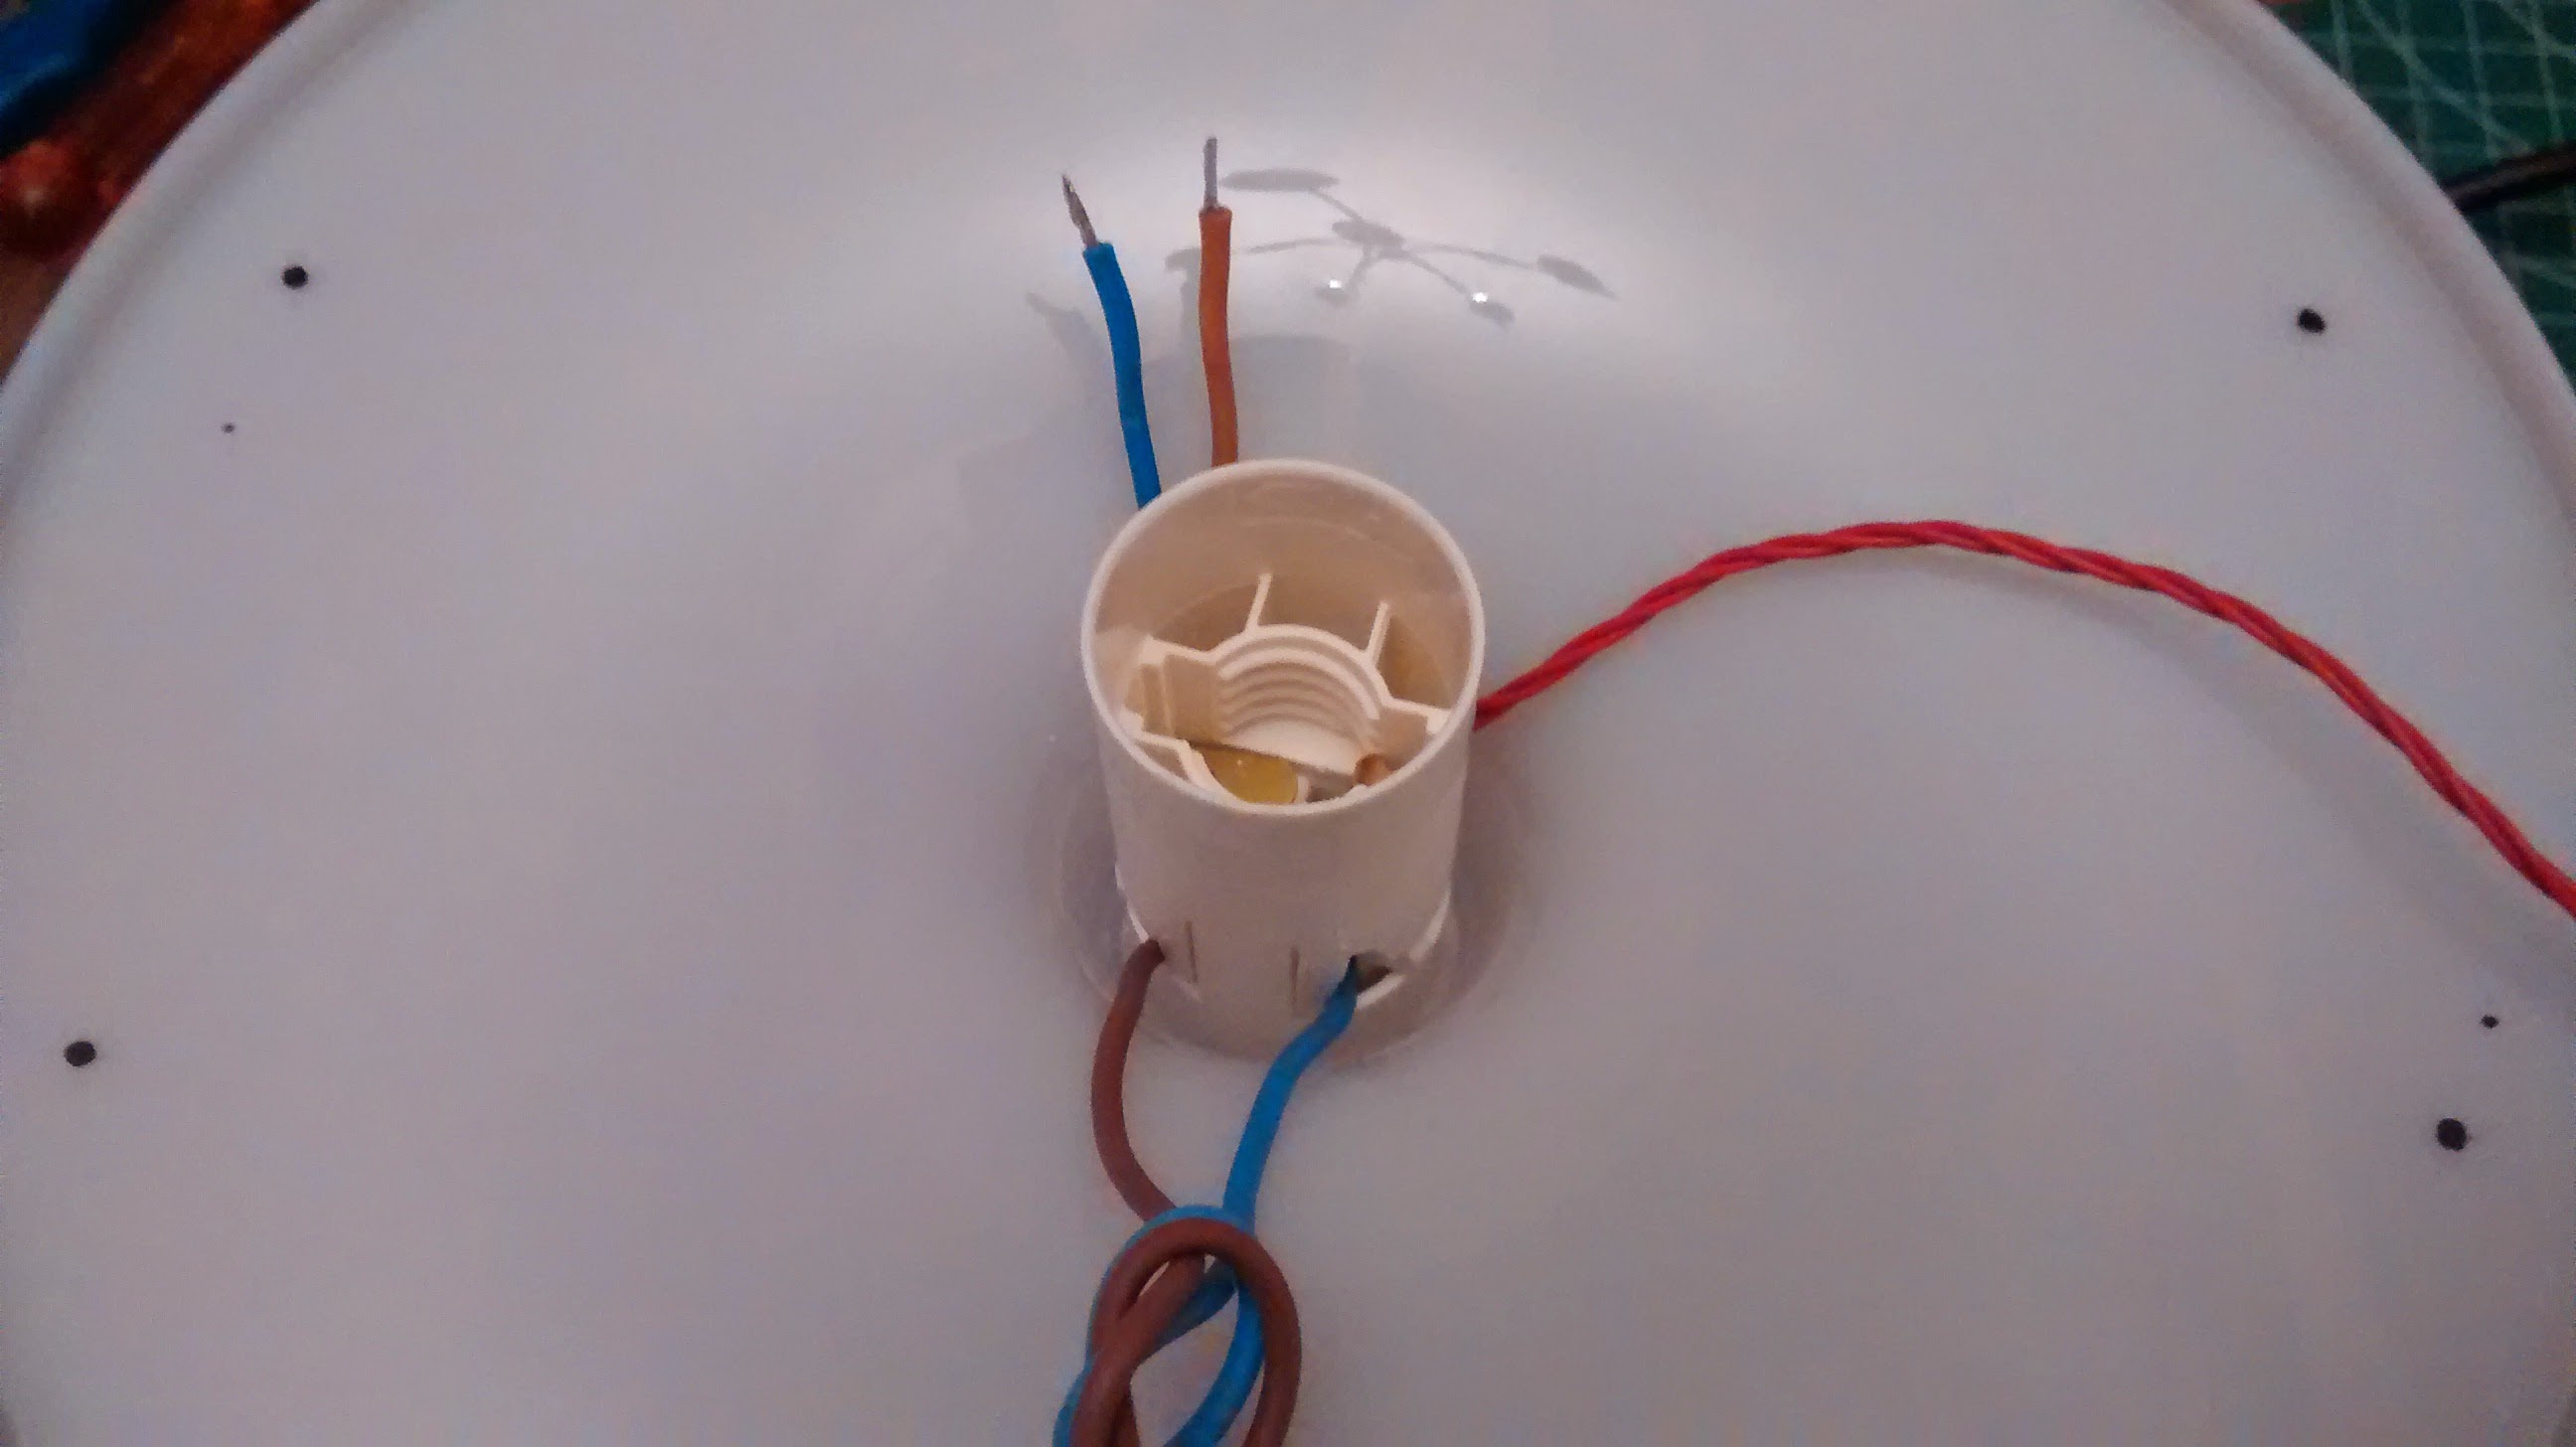
Next step is take off the socket for the light bulb and make the wires accesible to connect it in the board. Also, I use the plug cord that comes with the lamp, so this wire also must be accesible on the board:

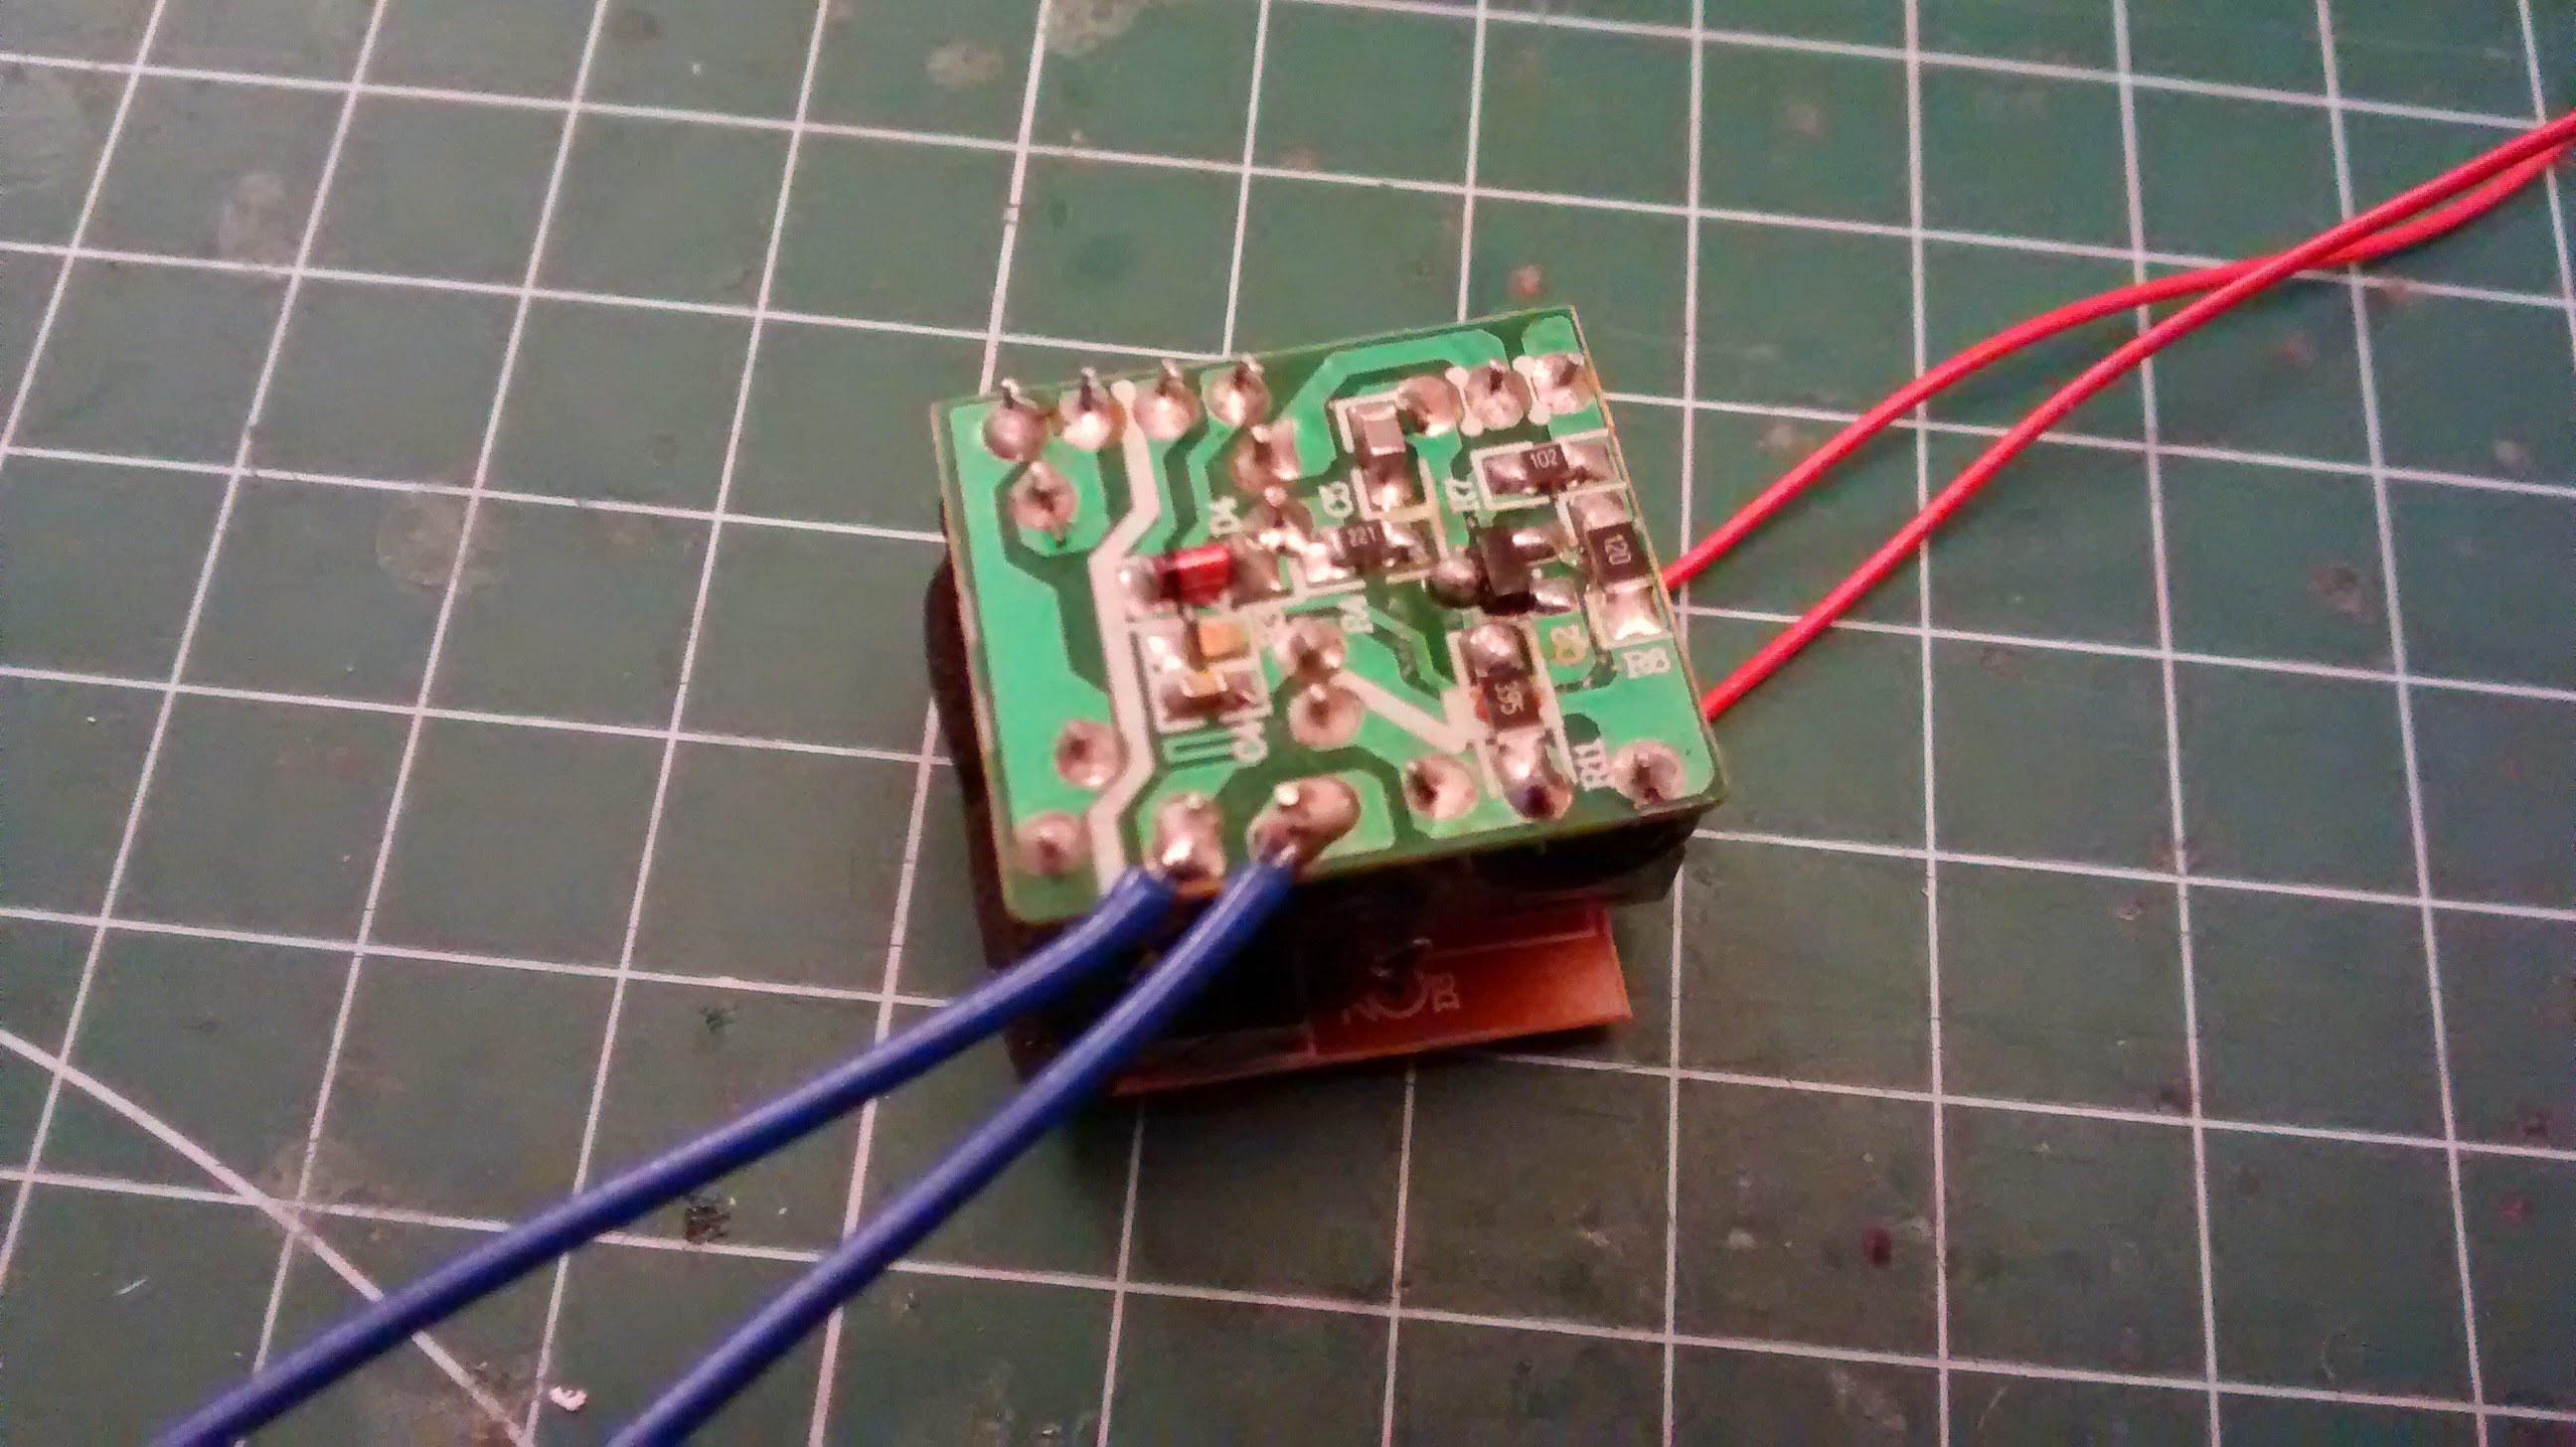
 Next: hacking the wall USB charger to have wire connections for the 220VAC IN and 5V out:

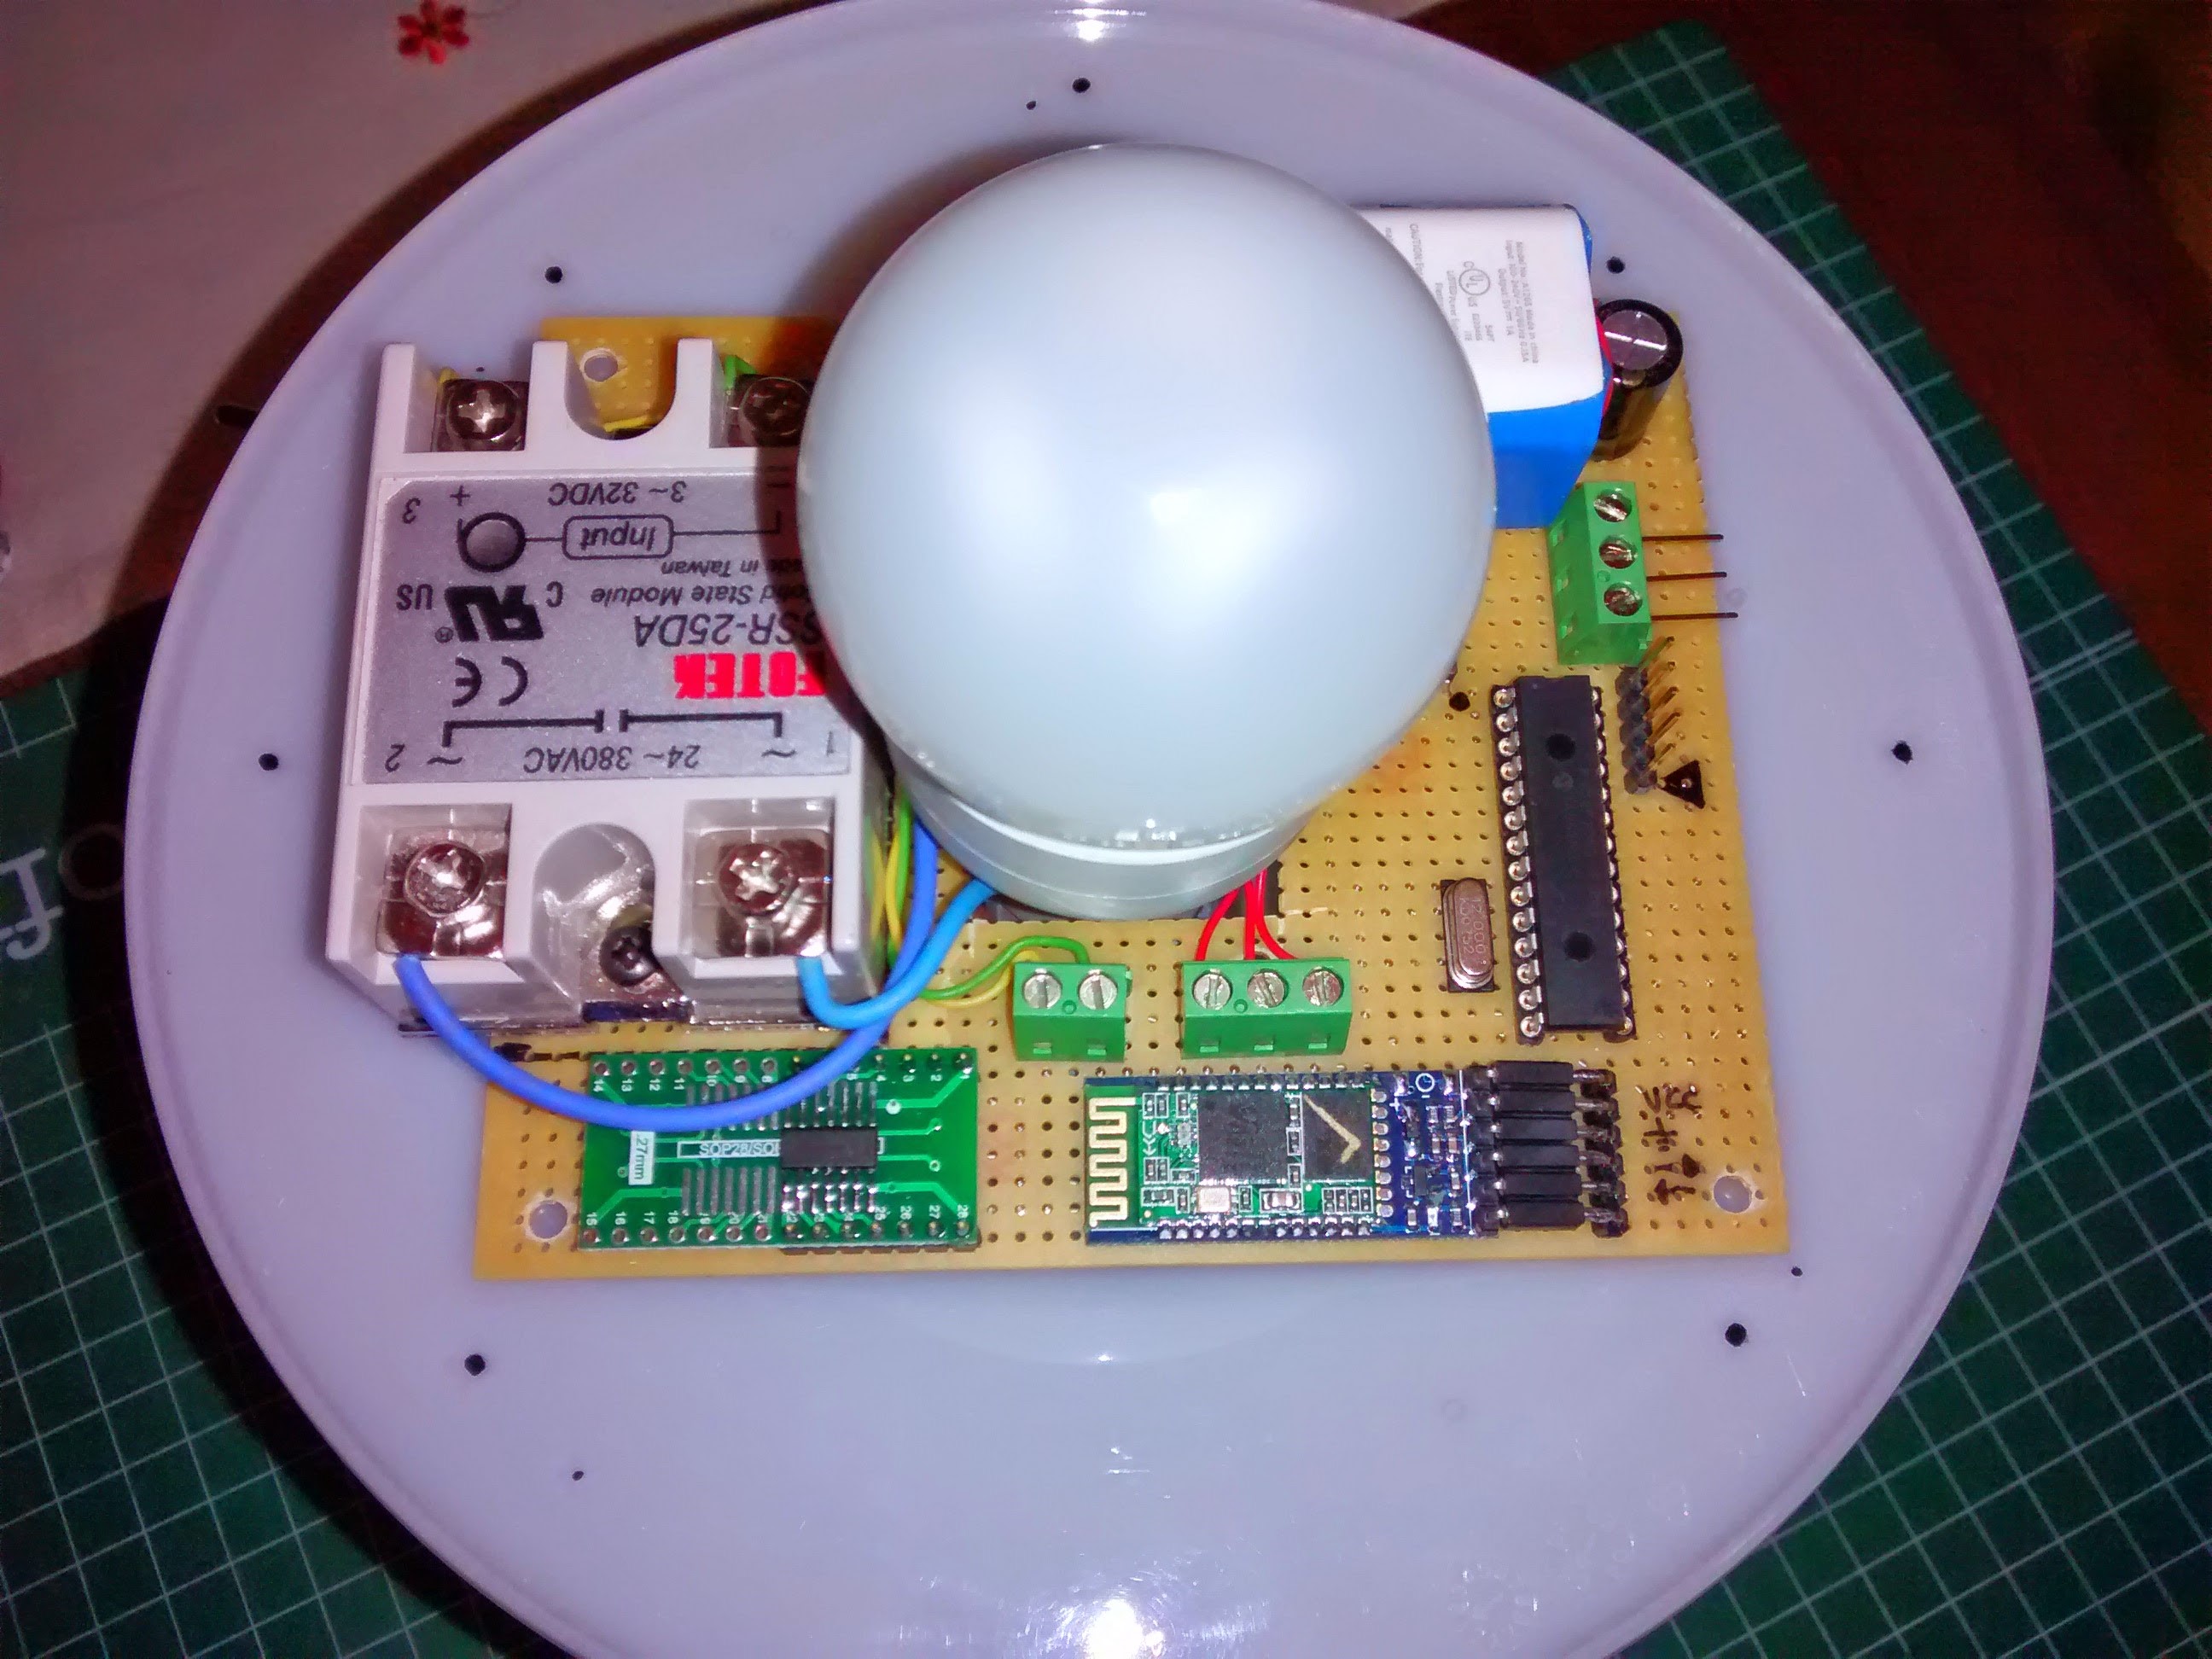
 Now I can mount the board with all the electronics on the base lamp:

 And install the light bulb:
 Now, it’s time for the firsts tests, before fix the leds to the lamp:
 And, after check that all works fine (and nothing burns), the final step is fix the leds to the base of the lamp. To do this, I use hot glue:

- The Software
The software of the project can be download here: SW Lampan RGB Hack V1.3
Like in the previous projects, I use MikroC Pro for PIC compiler. I really like this IDE to work, it provides many integrated libraries that makes the work much easy. And for programming the PIC, I use the official PICKIT3 programmer, a great tool for programming and also for debugging the code.
I know maybe the code is not optimized, but it’s functional and works fine in all the tests I made before I release it. In the following image, you can see the PIC settings. Important things to set: HS oscillator and MCU frequency to run up to 48 MHz.
 Some tips about the code:
– With 256 bits of colour for each RGB led, you can have up to 16.777.216 different colours. Obviously, it’s impossible to show all the colours. For this reason, I use the following graphic to set the colours that you can choose:
 – For the bluetooth communications, I use the Bluetooth SPP Pro application for android. It’s a great tool that allows serial communication over BT. I configure some of the buttons of the app (in Keyboard mode) to send the strings with the colours to set the lamp (BLUE, PINK, GREEN,…).
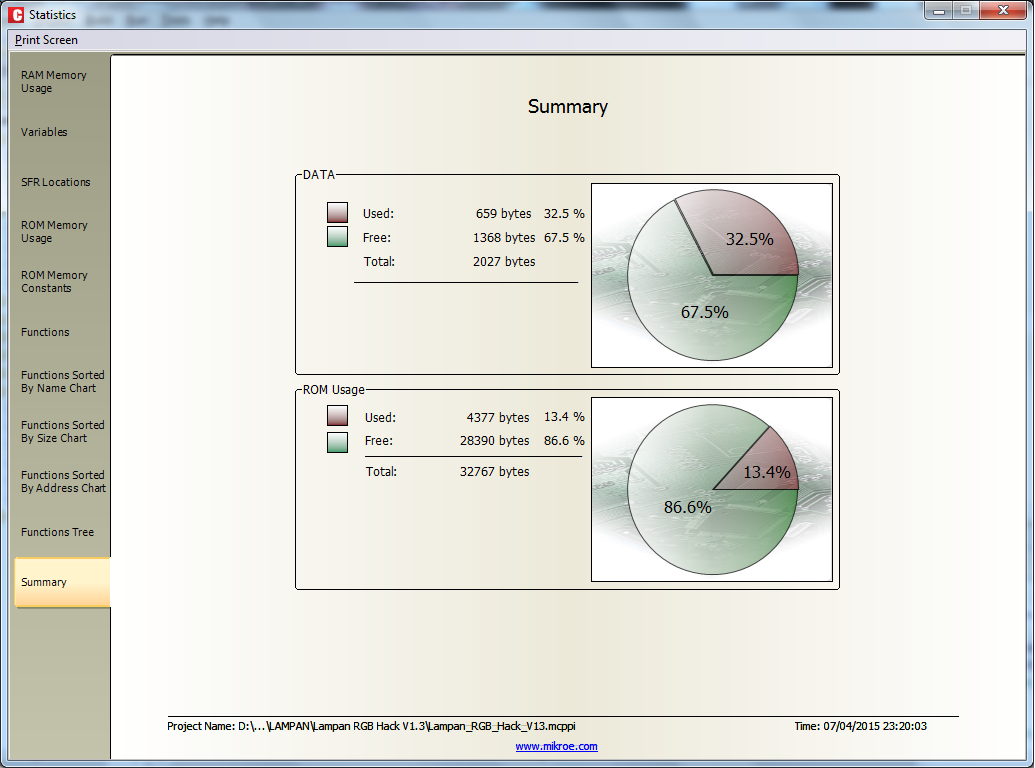
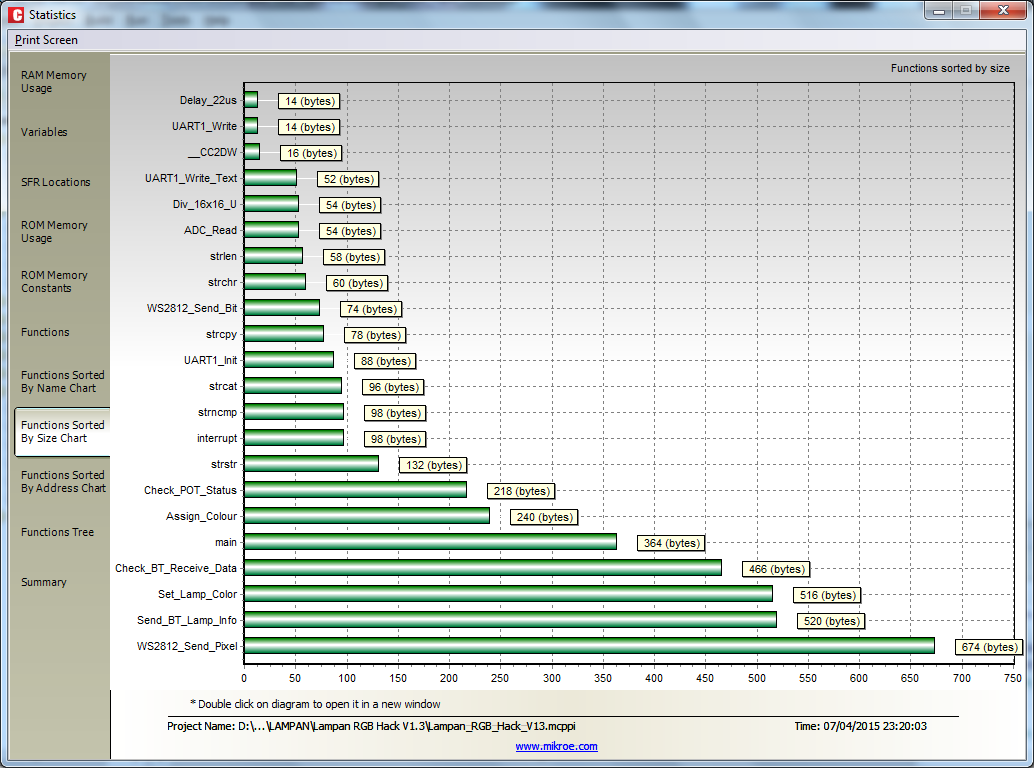
– MikroC compiler give many statics about the compiled code. Here’re some of this graphics:
 Finally here’re a couple of videos where you can see the lamp in action. The first one corresponds with the manual control, and the second video shows the control of the lamp with the Bluetooth SPP Pro application (sorry for the orientation of the last video):


This post is also available in: Spanish
Pingback: Absolute Overkill IKEA Lampan Lamp Hack | Hackaday
Pingback: Absolute Overkill IKEA Lampan Lamp Hack | Ad Pub
Pingback: Absolute Overkill IKEA Lampan Lamp Hack | Hack The Planet
Nice, rotating the SSR 180° would avoid crossing the SELV side and mains though and would keep a safe insulation between those two sides. In addition ferrules would be an improvement as well, besides that a very nice job! Love it!
Pingback: Absolute Overkill IKEA Lampan Lamp Hack - zeax blog (ze-ax.com)
Pingback: Hacking The LAMPAN Ikea Lamp « Adafruit Industries – Makers, hackers, artists, designers and engineers!